As an Amazon Associate, we earn from qualifying purchases. Some links on this site are affiliate links at no extra cost to you. Our recommendations are based on thorough research and editorial judgment.

What Makes a Good EV Cable Organizer

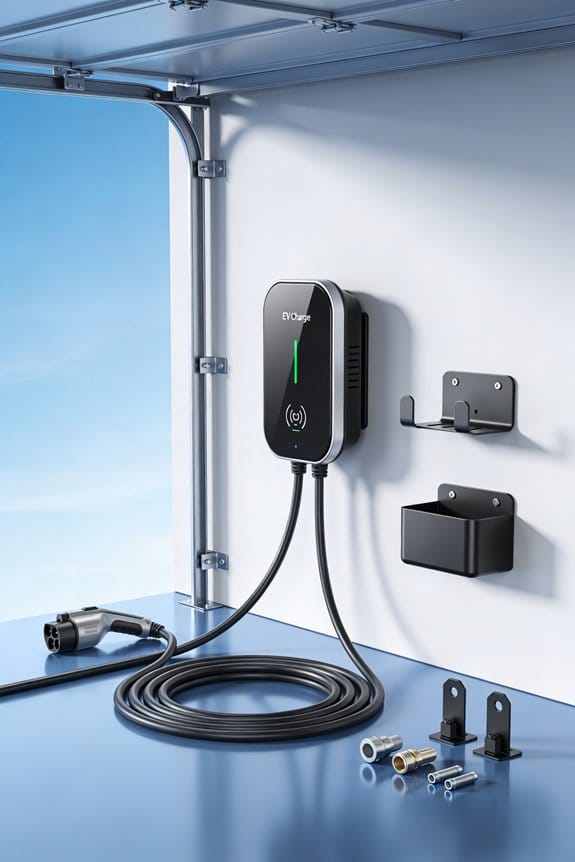
We recommend a sturdy, wall‑ or pedestal‑mounted retractor that lifts the cord at least 12 inches off the floor, locks securely, and protects it from weather and impacts. Choose a gas‑pump‑style mechanism for smooth extension and a counterweight to prevent snap‑back. Look for load‑rated bearings, weather‑proof covers, and crush‑proof housing to extend cable life. Select tall or recessed units to keep floor space clear and support dual‑mount layouts for multiple users. If you keep reading, you’ll discover how to scale the system for any garage.
Key Takeaways
- Keeps cords off the floor with a minimum 12‑inch clearance to prevent tripping hazards.
- Uses a smooth, spring‑loaded extension and locking mechanism that retracts without snap‑back.
- Provides weather‑proof, UV‑resistant enclosures and impact guards to protect cables from rain, sun, and physical damage.
- Supports heavy‑duty loads (up to 60 lb) with load‑rated bearings, torque‑checked mounts, and thermal insulation for durability.
- Offers modular, space‑saving mounting options (wall, pedestal, recessed) compatible with J1772 connectors for scalable, multi‑user installations.
Choose a Cable Retractor That Prevents Tripping Hazards
You may be interested


Ever tripped over a loose cord while juggling groceries? It’s a small hassle that can turn into a real safety issue, especially when kids or pets are around. I’ve found that a good cable retractable can keep the floor clear and give you peace of mind.
When you pick a cable retractable, make sure it keeps cords off the floor so no one trips. We recommend a model that lifts the cord to a height that clears foot traffic. This helps with outdoor routing where wind and rain can push cables onto pathways. It also supports child safety by removing loose loops that toddlers could pull.
Key points to check:
- Retractor height – at least 12‑inch clearance.
- Locking mechanism – holds cord when not in use.
- Weather‑proof housing – resists moisture.
- Heavy‑duty reel – handles up to 60‑lb cables.
Benefits:
- No tripping hazards.
- Cleaner garage or driveway.
- Safer for kids and pets.
- Longer cable life.
Follow these steps and you’ll keep the area tidy and safe.
Fair warning: cheap models often snap under tension, so you might end up replacing them sooner than you’d like.
Try this: measure the space where the cord will sit, then pick a retractable that lifts at least a foot off the ground.
Got a favorite brand that’s held up well for you? Let’s hear about it.
Recommended Products

<b>Price For:</b> Each <b>Overall Height</b>: 25-1/4" <b>Hose Included</b>: No <b>Hose Outlet</b>: 3/4" (M)NPT <b>Application</b>: Air/Water Services, Pneumatic Tools, Wash-down, Lubrication, Fuel Delivery, Chemical Fluid Transfer, General Industrial, Manufacturing Plants, Lube Skids & Trucks, Service / Mechanic / Utility Vehicles, Mining, Construction & Railroad Operations, Automotive, Fleet & Aircraft Maintenance

REEL SPECS - This 12AWG x 80' Foot 3C/SJTOW Cord and Triple Tap (S3) Connector; The 3 Core Wire Grounded Cable is rated at 15A 125VAC 1875W 60Hz; cETLus, Intertek GS Listed approved and certified, including quality tested

Heavy-Duty Power Solution – Available in 12AWG x 65' (15A 125VAC 1875W) enclosed reel or 12AWG x 80' (13A 125VAC 1625W) industrial steel frame reel, both designed for high-performance power delivery in commercial and industrial settings.
Understand How a Gas‑Pump‑Style Cable Retractor Extends Seamlessly
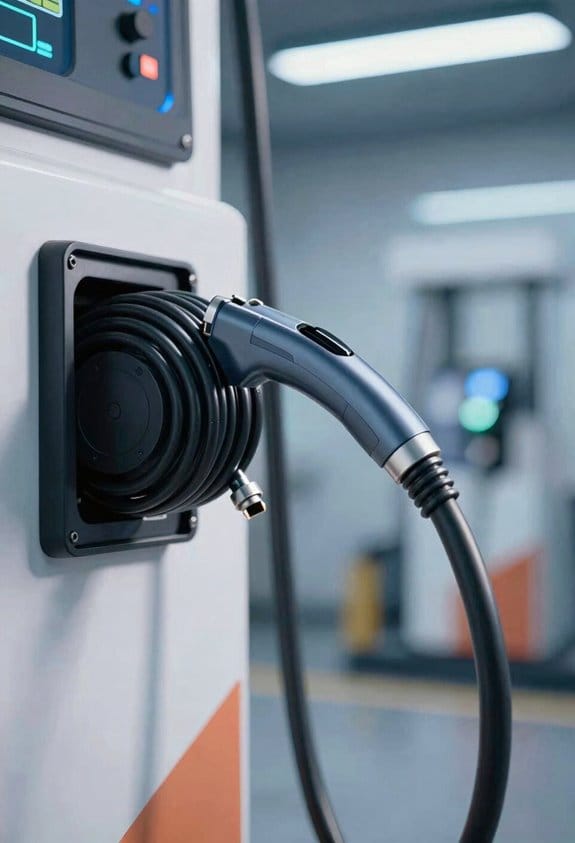
Ever had a pile of cords tripping you up in the office or garage? I’ve been there, and the mess can really slow you down. The good news is that a gas‑pump‑style cable retractable can keep things neat without a lot of hassle.
First, you grab the handle and give it a gentle pull. The spring inside stores energy, then lets the cable unwind smoothly. A built‑in counterweight makes sure the cord doesn’t snap back too fast, so both the cable and your hands stay safe.
Pull the handle gently.
The cable extends evenly.
Release the handle to retract.
- The mechanism needs minimal effort.
- It works with 21‑foot cables.
- It reduces wear compared with manual coiling.
- It fits in wall or pedestal mounts.
Frankly, the whole thing feels like a small, reliable helper that saves space and time. You’ll notice less wear on the cord, and you won’t have to wrestle with tangled loops any more. If you’ve got a tight spot, the wall‑mount option is a real win.
Worth knowing: you don’t need any special tools to install it—just a drill and a few screws. Once it’s up, you can pull and release whenever you need extra length, and it will tuck itself away neatly when you’re done.
Give it a try and see how much smoother your day runs. Ready to ditch the cord chaos?
Identify Design Features That Shield Cables From Weather, Vehicles, and Foot Traffic
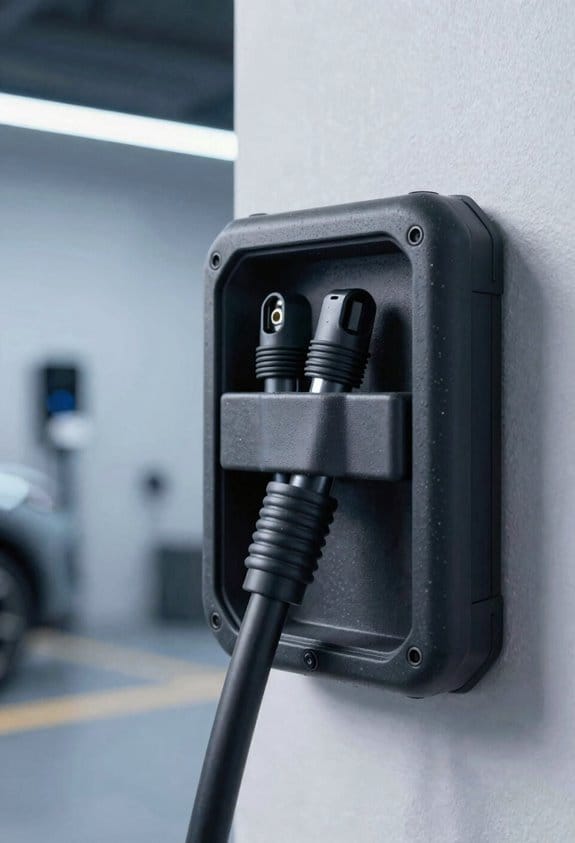
Ever had a cable snap because a storm or a passing truck took a bite out of it? I’ve been there, and the fix is simpler than you think.
Weatherproof covers
- They seal out rain, snow, and harsh UV.
- UV‑resistant polymers keep the material from fading.
- A tight fit blocks any moisture from getting in.
Impact guards
- Metal or reinforced plastic bars stand up to heavy loads.
- Placing them above ground level keeps tires and feet from crushing the wires.
- They also help redirect any accidental bumps.
Mounting strategy
- Attach the cables to walls or sturdy pedestals.
- Use brackets that lift the wires off the floor, so they’re out of the way of foot traffic.
- This setup makes routine checks a breeze and cuts down on wear and tear.
Additional protection
- Drainage channels under the covers whisk away any water that might collect.
- Rubber pads beneath the guards soak up vibrations, extending the cable’s life.
Frankly, these few tricks can keep your cables humming without constant repairs. Worth knowing: a little extra planning now saves a lot of hassle later.
Do you want your outdoor wiring to stay safe year after year? Give these ideas a try and see the difference.
Recommended Products
WEATHERPROOF OUTDOOR TV ENCLOSURE - Compatible with almost every 75" to 86" TV or digital display - Pick and choose what technology and features you want in a TV and all ventilation and cable pass-through systems are protected against water and intruders big and small

Dimensions: 5 Channel | 40 Pcs | Channel Size is 1.18” W x 1.18” H | Overall Size is 35” L x 17” W x 2” H | Weight 22.1Lbs | Operating Temperature Range from - 40º F to 1310º F | Meets MUTCD, OSHA, RoHS
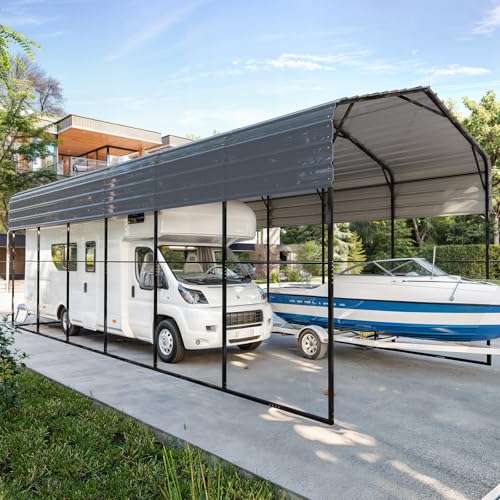
Large RV & 2-Car Coverage: The 14 x 30 ft footprint offers 420 sq. ft. of covered space for RVs, travel trailers, pickup trucks, SUVs, boats, tractors or two vehicles. Check your vehicle length, height and roof accessories before purchase
Support Heavy‑Duty Level 3 Cable Retractors Up to 60 lb Without Damage
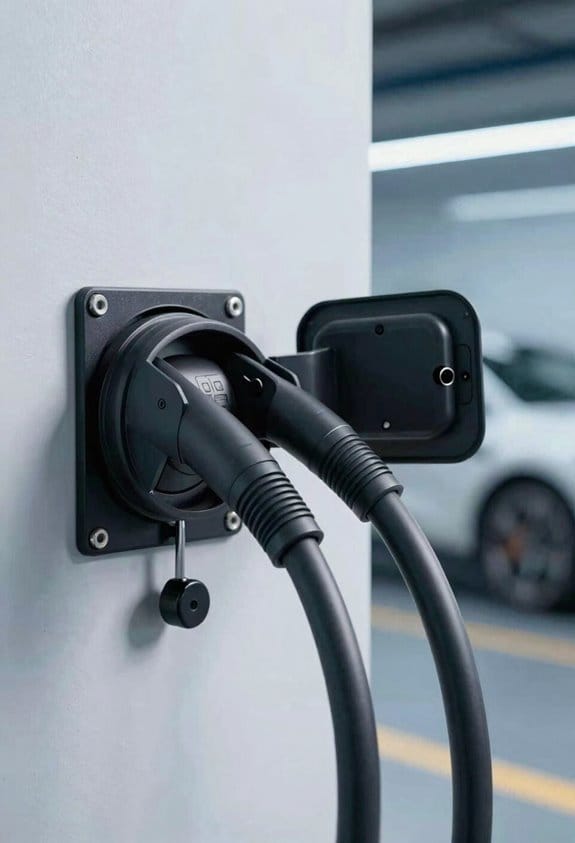
Ever had a cable retractor that just can’t keep up with your heavy‑duty Level 3 cables? It’s frustrating when the drum stalls or the motor jerks, especially when you’re trying to charge a big battery pack. I’ve been through that hassle, so I’m sharing what actually works.
What to look for
Load‑rated bearings – They let the drum spin smoothly even when you’re pulling 60 lb of cable.
Thermal‑insulation wrap – Keeps the cable safe from heat and cold while the retractor runs.
Strong motor and gear set – Pulls the cable without jerking or stretching it.
These three parts keep the system from getting damaged during daily use. I also recommend checking the mounting brackets for a solid attachment; loose bolts are a common cause of wear.
Why it matters
A well‑designed retractor holds the cable steady, reduces wear, and lasts through many charging cycles. When the motor and gear set are up to the task, you won’t feel that sudden tug that can fray the cable. And those load‑rated bearings? They’re the silent heroes that prevent the drum from grinding under load.
Fair warning: Skipping any of these features can lead to early failure, which means you’ll be replacing the whole unit sooner than you’d like.
Try this: Follow the manufacturer’s torque specs for the bolts and double‑check that the brackets are firmly secured. A tight fit makes all the difference in keeping your setup safe and reliable.
Quick checklist
- Inspect the bearings for smooth rotation.
- Verify the insulation wrap is intact and covers the whole drum.
- Test the motor’s pull strength before installing it permanently.
Save Space With Tall Pedestal and Wall‑Mounted Cable Retractors
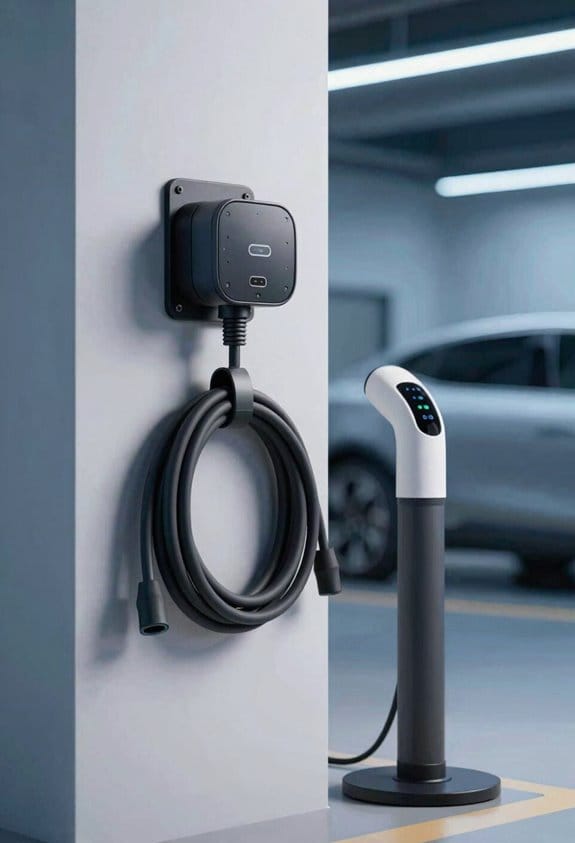
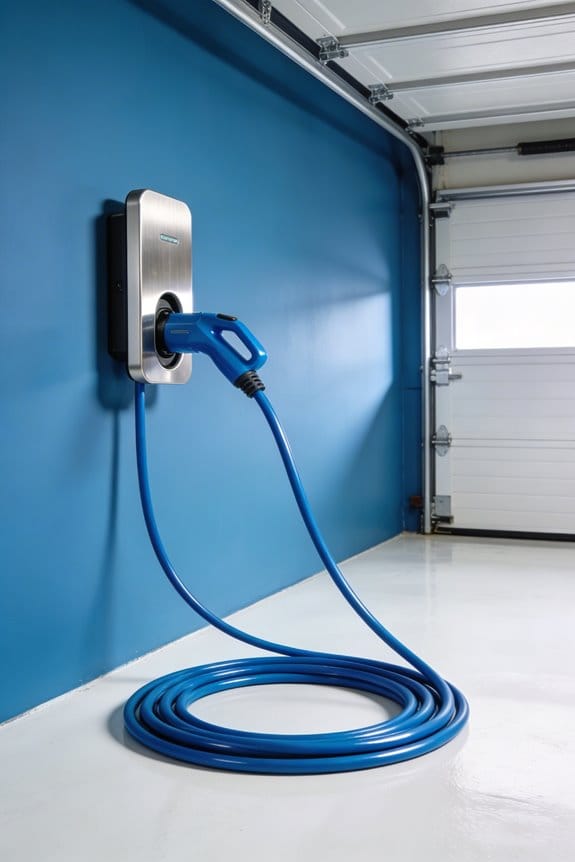
Ever feel like your garage is a maze of cords and you can’t find a spot to park the car? When space is tight, a tall pedestal or wall‑mounted cable retractor can free up floor area and keep the garage tidy. I recommend a vertical storage solution that rises about seven feet. This keeps cables off the ground and clears pathways. A recessed mounting option lets the unit sit flush against the wall, reducing visual clutter.
Key benefits
- Saves floor space.
- Keeps cables protected from traffic.
- Allows easy pull‑out of long cords.
Installation tips
- Use the provided brackets for wall mounting.
- Align the pedestal base with a sturdy floor point.
- Verify the retractor’s height fits your garage ceiling.
Choosing a model
- Look for a design that supports your cable length.
- Make certain it offers smooth retraction.
These steps give a clean, efficient setup without extra hassle.
Frankly: Try this: measure the height of your garage ceiling before you buy, so the retractor fits perfectly.
Do you ever wonder why you keep tripping over cords? A vertical solution can change that in a day.
Ready to clear the floor and keep your cords neat? Give it a go and see the difference.
Recommended Products

Heavy-duty, steel outdoor-rated housing with black powder coated finish for the harshist enviornment. Constant tension to the cable is applied to prevent the cable from hitting the ground when in use. It does not have a locking ratchet. Overall dimensions are 9"H x 3"W x 9"L.
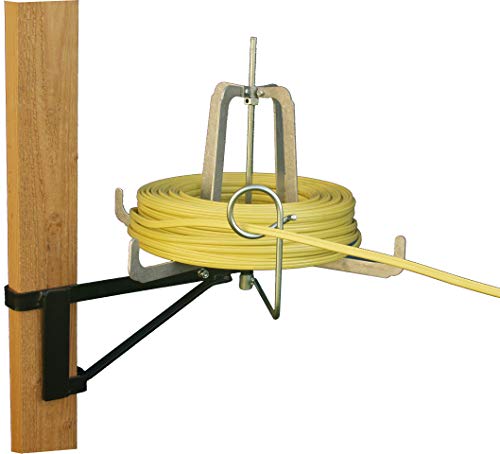
Folds flat for easy storage and handling. Saves Premium truck space

Wall Mounted or Ceiling Mounted Cable Management System for Home Electric Vehicle Charger: Compatible with ev charging cables up to 30 ft in length, fits for 20-25mm/0.78-0.98" Diameter Bold Cable. (The ev charger cable not included)
Install DIY‑Friendly Cable Retractors Using Pre‑Drilled Holes and J1772 Compatibility
Ever had a cable retractor that just won’t stay put, no matter how tight you screw it in? I’ve been there, and the fix is easier than you think.
First, line up the mounting plate with those pre‑drilled holes. Grab the drill, pop in the supplied screws, and tighten them to the torque specs the manual mentions. That little step keeps the retractor solid when the cord is under load.
Here’s the trick:
- Position the J1772‑compatible connector so it faces outward.
- Attach the cord‑management guide to the base.
- Give the retractable cord a gentle pull to make sure it slides freely.
Check that the cable doesn’t snag, and confirm the retractor locks when you pull it tight. If you notice any resistance, loosen a screw just a notch and try again.
Honestly, a quick test after installation saves you from future headaches. Pull the cord out a few times; it should glide smoothly and snap back without wobbling. That’s all you need to know for a reliable setup.
Fair warning: skipping the torque check can lead to a loose mount, which might cause the cord to slip when you need it most. Take a moment to double‑check those specs.
Now you’re ready to enjoy a tidy, functional charging station. Have you tried this method yourself? Let me know how it worked for you.
Extend Cable Lifespan With Dirt‑Proof, Moisture‑Resistant, and Crush‑Proof Enclosures
Ever notice how a dusty garage or a rainy day can ruin your EV charger cable faster than you expect? I’ve learned a few tricks that keep the cord safe and working longer.
Choose a housing with sealed connectors****
This simple step stops water and dust from getting into the contacts, so you won’t have to replace the cable often. A good seal also means you can park the charger outside without worrying about grime.
Pick a design that offers thermal insulation****
When you charge for a long time, the cable can heat up. Insulated walls keep the temperature down, which protects the inner wires and prevents premature wear. It’s a small detail that makes a big difference.
Look for crush‑proof walls****
Rigid panels act like a shield, keeping heavy boxes or tools from flattening the cord. That extra armor is worth it, especially if you store the charger in a busy workshop.
- Use a gasketed lid to keep moisture out.
- Verify that the enclosure meets IP‑rating standards.
- Install the cover tightly to avoid gaps.
These steps extend the cable’s lifespan and reduce maintenance. They work well with any EV charger setup.
Frankly, you don’t need fancy tech to protect your cable—just a good enclosure and a few careful habits.
Try this: after you finish charging, give the lid a quick check to make sure it’s sealed tight; it only takes a few seconds and can save you a lot of hassle later.
Got any other tips for keeping chargers in shape? Share them below!
Enable Dual‑Mount Front‑Facing Designs for Multi‑User Garages
Ever tried to squeeze a couple of cars into a small garage and end up with a tangled mess of chargers? A dual‑mount front‑facing charger can solve that problem without turning the space into a obstacle.
First, grab two mounting brackets and put them on opposite sides of the wall. Then line up the charger so the plug points outward, and attach a retractable reel that slides into a wall‑mounted housing. The result? Each driver can reach the plug without stepping over another car, and the floor stays clear of cords.
- The design keeps the floor clear, cutting down on tripping hazards.
- Shared access speeds up charging when several people need it at once.
- Installation uses pre‑drilled holes and standard hardware, so DIY setup is simple.
Frankly, you’ll notice a smoother flow the you pull in and out of the garage. The layout lets everyone charge their vehicle without crowding, and the retractable cable keeps things tidy. Plus, you won’t have to worry about stepping on a cord while loading groceries.
Worth knowing: the whole setup takes just a few hours and a basic drill. You don’t need a professional electrician unless you’re adding a new circuit. Follow the steps, and you’ll have a functional, multi‑user charging station that feels right at home.
Give it a try and see how much easier garage mornings become. Ready to keep your garage organized and functional for everyone?
Enhance Garage Organization and Vehicle Pathways With Clean Cable Retractor Layouts
Ever tried to park in a garage where cords snake across the floor and you keep stepping on them? It’s a hassle, especially when you’re in a rush. A clean cable‑retractor system can keep the floor clear and make your car’s path safe. The layout saves space and pulls cables away from wheels.
Mount the retractors on the wall or ceiling, then line them up with your parking spots. Adding a light strip under each retractor highlights the route and boosts visibility.
- Seasonal storage becomes easy; roll the cable up for winter.
- The system stays flush, so nothing blocks the driveway.
- Light strips under the retractors mark the route.
We suggest a quick checklist:
- Check clearance before installing.
- Test the retractors for smooth motion.
- Verify that lighting follows the cable line.
Frankly, you’ll notice the difference right away. Try this: run a quick test by pulling the cable out a few feet and watching how it slides back without snagging. The garage stays tidy, safe, and ready for any season. Ready to give your garage a smoother ride?
Scale Your Cable Retractor System for Different Garage Layouts and EV Port Locations
Ever tried to keep your garage tidy while juggling a few EV charging spots? It can feel like a puzzle, especially when the layout isn’t a perfect rectangle.
When you plan a cable‑retractor system for a garage, start by mapping the layout and locating each EV port. We then choose a modular mounting scheme that fits wall, pedestal, or ceiling spots. This lets us adjust the system as the garage changes. Use a variable reach arm to cover different distances between ports and chargers.
- Measure each port’s distance from the nearest wall.
- Pick a retractor with a reach range that exceeds the longest distance.
- Mount the base on a sturdy bracket that can be moved later.
- Add extra arms for ports that are far apart.
Following these steps keeps cables tidy, reduces trips, and works for any garage shape.
Frankly, the key is to stay flexible. If you pick a mount that’s too rigid, you’ll end up re‑doing the whole thing when you add a new charger. A modular bracket lets you shift the base without tearing down drywall.
Try this: sketch a quick floor plan on a napkin, then walk the room with a tape measure. Mark where each port sits and note the longest run you’ll need to cover. That simple visual helps you pick a retractor that’s big enough without over‑paying.
Worth knowing: a variable‑reach arm can swing a few feet left or right, so you don’t have to install a separate unit for every corner. It also saves you from tangled cords when you move a car around.
The result? A cleaner garage, fewer trips to the outlet, and a system that can grow with your EV collection. Ready to give it a go?
Frequently Asked Questions
Does the Retractor Work With Both Indoor and Outdoor Installations?
Yes, it works indoors and outdoors; we’ve given it an indoor compatibility rating and a weatherproof rating, so you can install it in garages, patios, or any exposed depot without worry.
Can I Retrofit an Existing Charger Without Modifying the Wall?
We can retrofit your charger without wall modifications by using surface adapters and mounting the retractor on the pedestal; just align the adapter, secure it, and you’re ready to charge safely.
How Long Does the Motorized Drop‑And‑Retract Mechanism Last Under Heavy Use?
We’ll tell you straight: under heavy use the motorized drop‑and‑retract lasts about ten years, with service life governed by wear patterns, a mean time between failure around 8,000 cycles, and a simple maintenance schedule.
Are There Warranty Options for the Crane‑And‑Jib System?
We offer an extended warranty and custom coverage for the crane‑and‑jib system, so you can choose protection levels that match your usage patterns and budget, ensuring peace of mind for heavy‑duty operation.
What Is the Maximum Number of Cables a Dual‑Mount Unit Can Support?
We can support up to four cables per dual‑mount unit, balancing cable capacity with mounting constraints; this lets you keep your garage tidy while still handling multiple chargers without sacrificing space or safety.