As an Amazon Associate, we earn from qualifying purchases. Some links on this site are affiliate links at no extra cost to you. Our recommendations are based on thorough research and editorial judgment.

How Tripping Hazards Shape EV Charging Setup Decisions
We first map the walk path from charger to car and note busy spots. Then we keep cables flat, away from edges, and use sturdy, bright‑colored protectors or recessed channels. Sharp bends, twists, and exposed sections are avoided, and high‑visibility tape or cones mark crossing points. We also add signage and emergency disconnects within 30 ft. Following these steps lets us pick a safe location and design a tripping‑hazard‑free setup; the next sections expand on power sizing and weather protection.
Key Takeaways
- Route cables away from high‑traffic walkways and use recessed channels or flat, protected paths to prevent trips.
- Install bright, reflective cable protectors and high‑visibility tape or cones in areas where cables cross pedestrian routes.
- Conduct regular walk‑through inspections after installation and after storms to identify and correct any exposed or damaged sections.
- Use heavy‑duty, weather‑proof protectors and secure them with brackets or stakes to keep cables flat and stable under foot traffic.
- Provide clear signage and emergency disconnect markers within 30 ft of each charger to guide users and enable rapid response to hazards.
Assess EV Charger Safety: Tripping Risks Before Choosing a Location
You may be interested


Ever tried to park your car and then realized the charger cable was lying right across the sidewalk? That little snag can turn a smooth charge into a trip hazard for anyone walking by.
First, walk the route the cable will follow from the charger to the car. Sketch it out on a piece of paper or a phone app so you can see where it meets foot traffic. Next, spot the busiest spots—those places where people linger or cross often.
Try this:
- Lay a sturdy, weather‑proof protector where the cable crosses any path.
- Secure the protector firmly to the ground with brackets or stakes.
- Paint bright, reflective markings on the protector and the surrounding area.
These steps keep walkers safe and stop the cable from getting snagged or damaged.
When you’re mapping the path, keep the cable away from the edge of the walkway. If it runs too close to the curb, a stray foot can knock it off and expose the charger to water or debris. A little extra distance gives both pedestrians and your equipment a safety buffer.
If you notice a high‑traffic zone, add extra visibility. A strip of high‑visibility tape or a small cone can alert people to the cable’s presence, especially at night or in bad weather.
Worth knowing:
- Use a protector that can handle rain, snow, and UV rays.
- Make sure the protector is anchored so it won’t wobble when someone steps near it.
- Check the markings regularly; replace any that fade over time.
By planning the route, protecting the cable, and marking the area, you’ll avoid trips, keep the charger in good shape, and make the whole setup look tidy.
Does this help you feel more confident about installing your charger safely?
Figure Out Your Power Needs and Load Limits Before Installing a Charger

Ever wonder why your new EV charger keeps tripping the breaker? It’s usually not the charger at all—it’s the load you didn’t think about. Before you start drilling holes, take a quick look at what’s already pulling power from your main panel. Check the amperage, breaker size, and any big appliances that run nonstop. Then think about how far you drive each day, how fast you want to charge, and what your typical routine looks like. Compare that to the spare capacity you have left.
- List current loads (HVAC, lighting, kitchen).
- Add projected EV load (kW).
- Subtract from total panel rating.
If the number you end up with is low, you’ll probably need a panel upgrade. Keep wiring short and run it in proper conduit. Make sure the charger’s circuit matches the panel’s rating—this cuts down on overloads and tripping hazards.
Frankly, a simple power audit can save you a lot of hassle later. Start by turning off all non‑essential devices and note the amperage on each breaker. Then, using the charger’s specs, calculate the extra draw you’ll add. If you see the total edging close to the panel’s limit, it’s time to call an electrician for a possible upgrade.
Worth knowing: when you install the charger, choose a location that lets you keep the wiring run as short as possible. Long runs increase resistance and can cause voltage drop, which isn’t good for either your car or your home’s electrical system. Also, double‑check that the circuit breaker you install is the right size for both the charger and the panel—over‑sizing can be just as risky as under‑sizing.
If you follow these steps, you’ll avoid costly upgrades down the road and keep your home safe. Ready to get your charger up and running without the headache?
Recommended Products
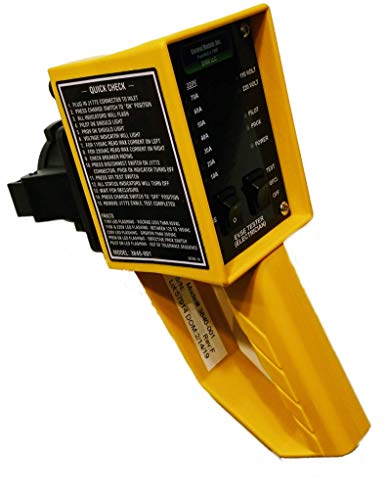
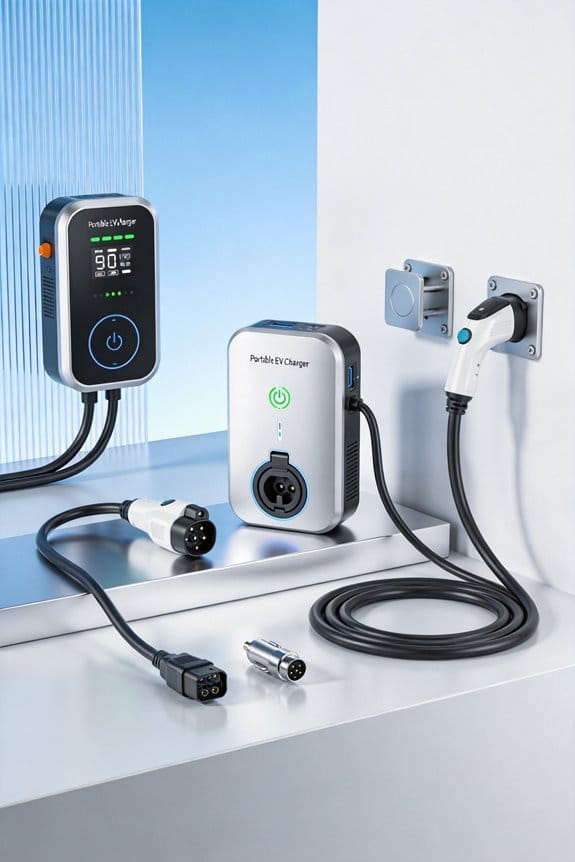
COMMERCIAL grade weatherproof hand-held Tester allows J1772 Level 2 and Level 1 chargers to be checked after installation, verifying a number of vital power and safety requirements.
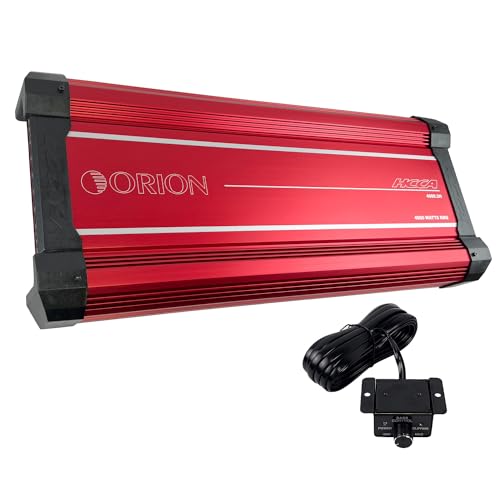
ORION HIGH PERFORMANCE AMPLIFIER: Serious amounts of power driving ridiculously low impedances at completely sick output levels is what the HCCA Series is all about. Whether you're looking for an SPL world record or you just want to do some serious damage on the streets, these amplifiers will ensure they hear you before they see you. Hellacious power intersects with extreme efficiency under rugged die-cast aluminum covers with illuminated ORION badges that tell the world that HCCA is back!

Quicker charging (30 Amps, 240V, Level 2): 4x faster charging than Level 1, 120V chargers. Operating temperature : minus 30 degree Celsius to plus 50 degree Celsius
Select Cable Protectors and Walkway‑Friendly Routing Solutions

Ever tripped over a charger cord while trying to get to your car? It’s a hassle that can turn a quick pit stop into a clumsy scramble. The good news is you can keep your walkways clear and your chargers working without a big remodel.
First, walk the area and spot where most foot traffic meets the charging station. Those high‑traffic zones are where you’ll want the toughest protection. Lay down heavy‑duty cable protectors right where the cords cross the path. They’re built to hold the weight and keep the cable from getting snagged.
Next, think about a cleaner look for indoor garages. Recessed channels are perfect for this—they tuck the cords under the floor so they’re out of sight and out of the way. You’ll still need to secure any exposed bits with brackets, but the bulk of the cable stays flush with the surface.
Try this:
- Identify high‑traffic zones.
- Place protectors that can bear the cable weight.
- Install recessed channels to keep cables flush with the surface.
- Secure any exposed sections with brackets.
- Test walkability after installation.
These steps cut down on tripping risk and keep the charger safe from damage. They also make cleaning easier, because there’s no tangled mess to sweep around. Just follow local code for anchor spacing and avoid sharp bends—keep the routing straight.
Fair warning: if you skip the testing step, you might miss a spot where the cord still sticks up. A quick walk‑through after you’re done will catch any lingering hazards before they become a problem.
Your garage can stay tidy, safe, and ready for the next electric vehicle. Ready to give your walkways a smoother ride?
Recommended Products

Welding Power Made Easy: The Southwire Welder Extension Cord features a durable STW jacket cord and lighted receptacle, built for safe, portable jobsite performance

Electrical Rating: 30 amp RV extension cord, 30A, 125V, 100 feet, max rate 3750 Watt, STW pure copper power cord with TT-30P male plug and TT-30R female receptacle for RV trailer campers
Universal Compatibility: This EV charger cover is not only compatible with Tesla, it is also compatible with most other electric vehicle chargers. Providing solutions for all electric vehicle owners
Integrate Emergency Disconnects and Meet NEC Safety Standards

Ever tried to charge an EV at home and wondered if you’re really safe when something goes wrong? You’re not alone—many DIY folks skip the emergency disconnect, thinking it’s just extra paperwork. But a quick shut‑off can protect you, your family, and anyone who might need to work on the system.
First off, make sure you have a clearly marked emergency disconnect no more than 30 ft from each charger. It should be easy to spot and reach, even if you’re in a hurry. Use a breaker that trips at the charger’s rating; that way the circuit won’t overload. Install a lockable enclosure for the disconnect so only authorized people can tamper with it. And don’t forget to post a sign that reads “Emergency Disconnect – Pull to Stop.”
Frankly, you’ll want to double‑check that the disconnect meets NEC compliance for both voltage and current. A qualified electrician can confirm that for you. Test the device monthly—just pull the handle and watch the lights go out. Keep the control panel tidy; stray cables can cause unwanted tripping and mess up the whole system.
Worth knowing: you should keep the control panel free of cables that could cause tripping. A clean setup not only looks better but also reduces the chance of a false alarm. And remember, the sign isn’t just decoration; it’s a real safety cue for anyone nearby.
If you follow these steps, you’ll have a solid, code‑compliant charging station that’s ready for any hiccup. Ready to make your EV setup safer? Let’s get it done.
Recommended Products

Single Throw Heavy Duty Safety Switch

Single Throw Heavy Duty Safety Switch

Single Throw Heavy Duty Safety Switch
Design Weather‑Resilient Charger Sites in High‑Risk Zones

Ever tried to set up a charger in a spot that floods every spring? You’ll quickly learn that a little planning can save you a lot of hassle when the weather turns nasty. I’ve been through a few of these setups, and the tricks I picked up keep the stations up and running even when the sky opens up.
First, think about the ground you’re putting the charger on. An elevated pad that slopes away from the unit lets water run off fast, so you won’t end up with a puddle under the plug. Pair that with a corrosion‑resistant enclosure—metal that won’t rust at the first rainstorm makes a huge difference. And don’t forget the cables: insulated trays that sit above the ground keep the wiring dry and safe.
Try this:
- Route power through two separate feeders so if one line goes down, the other still feeds the charger.
- Add a battery backup for those short‑term outages that happen when a storm knocks out the grid.
- Put up clear signage to guide people safely around the site and avoid tripping hazards.
After a big storm, walk the site and make sure there’s no standing water. Test each power path on its own to confirm they work independently. This simple check can catch problems before they turn into a full‑blown outage.
Frankly, the biggest mistake people make is ignoring the local weather patterns. Look up flood maps, wind data, and typical rain totals for the area before you pick a spot. Matching the terrain, flood risk, and wind exposure to your charger design is the best way to keep things reliable.
If you follow these steps, you’ll find that even in high‑risk zones your chargers stay functional, safe, and ready for drivers who need a quick top‑up. Ready to give your charging stations a weather‑proof makeover?
Recommended Products

✅【HEAVY DUTY】NEMA 14-50R receptacle power outlet, 50A 125V/250V with type 3R enclosure rainproof which compatible with the nomal 50A Nema 14-50P RV cord.

【High-quality sturdy galvanized steel plate】 The outdoor electrical junction box is made of 1.5mm high-quality galvanized steel plate in one piece. The surface of the double layer of the powder spraying and crystal plating is solid and durable, not easy to deform.

FAST LEVEL 2 CHARGING UP TO 46 MILES PER HOUR – Delivers up to 48 amps at 240V (11.5 kW) for up to 46 miles of range per hour. Charge overnight and wake up to a full battery in your J1772 EV
Maintain and Inspect Cables to Prevent Fires and Failures
Ever notice how a frayed charger can spark a mini‑fire in the garage? It’s easy to overlook, but a quick check can save you a lot of hassle.
Visual check
- Look for cracks, cuts, or exposed wires.
- Make sure cables lie flat, not twisted.
Connector lubrication
- Apply a thin layer of approved grease to each connector before use.
- Wipe excess to avoid drips.
Test continuity
– Use a portable tester to confirm no resistance spikes.
Secure routing
- Place protectors where cables cross walkways.
- Keep cables away from heat sources.
Frankly, a routine once feels like a chore, but it keeps your setup safe and dependable. Try this: set a calendar reminder for once a month and spend five minutes walking through each step. You’ll catch problems before they turn into costly repairs.
What’s the worst that could happen if you skip a quick glance? Probably a burnt plug or a shorted battery—nothing worth the risk.
Give it a go and see how much peace of mind a simple inspection brings. Ready to make safety a habit?
Frequently Asked Questions
How Deep Should Cable Protectors Be Buried for Pedestrian Traffic?
We recommend burying cable protectors at least twelve inches deep for pedestrian safety, ensuring they stay out of sight and reducing tripping risks while still allowing easy maintenance access when needed.
Can Solar Panels Power EV Chargers Without Increasing Tripping Hazards?
Safety first, we can power chargers with solar integration while keeping walkways clear, provided we install cable protectors and conduct ground faults monitoring, so you get clean energy without added tripping hazards.
What Are the Best Materials for Outdoor Cable Protectors in Snowy Climates?
We recommend rubber mats for slip‑resistant surfaces and heated conduits to melt snow, preventing ice buildup. Together they keep cables clear, safe, and functional throughout winter storms.
How Often Should Tripping‑Hazard Inspections Be Scheduled for Residential Chargers?
We recommend monthly inspections and seasonal checks for residential chargers, ensuring cables stay clear and protectors stay intact, so we catch wear early and keep walkways safe year‑round.
Do Insurance Policies Cover Injuries From Tripping Over EV Charging Cables?
We’ve found that many policies include insurance liability for tripping incidents, but coverage varies; you’ll typically receive medical reimbursement only if the cable’s placement meets safety standards and the claim is properly documented.