As an Amazon Associate, we earn from qualifying purchases. Some links on this site are affiliate links at no extra cost to you. Our recommendations are based on thorough research and editorial judgment.

What to Know About Indoor vs Outdoor Cable Storage

We recommend storing cables indoors whenever possible because temperature stays steady, humidity is low, and UV exposure is eliminated, which keeps jackets flexible and extends life. If outdoor storage is needed, keep the area at least 5 °F above the cable’s minimum temperature, use a dehumidifier, and cover reels with a UV‑blocking tarp. Keep reels off concrete on pallets, wrap loosely, and rotate stock front‑to‑back. Track inventory in a simple spreadsheet and audit monthly. Follow these steps and you’ll see further details.
Key Takeaways
- Indoor storage is cheaper but exposes cables to higher UV, moisture, and temperature swings if later used outdoors, risking jacket degradation.
- Outdoor‑rated cables need UV‑blocking tarps, waterproof containers, and climate‑controlled shelters to prevent embrittlement, swelling, and chemical staining.
- Keep reels off concrete on pallets, wrap loosely, and maintain balanced rack loading to avoid pressure‑point splits and moisture wicking.
- Monitor temperature and humidity daily with a hygrometer; keep humidity low and storage at least 5 °F above the cable’s minimum temperature.
- Track inventory in a spreadsheet, rotate stock (old front, fresh back), and schedule monthly audits to ensure consistent protection and early issue detection.
Keeping Indoor Cables Flexible for Outdoor Cable Storage
You may be interested


Ever had to stash indoor cables outside and worry they’ll get stiff and crack later? I’ve been there, and a few simple steps saved me a lot of hassle.
First, give the cables a warm‑up. Heat them to about 68‑77 °F and let them sit for a full day. This softens the jacket and keeps the insulation pliable. While they’re warming, set up a dry room with a dehumidifier. The lower humidity stops the outer layer from drying out and becoming brittle.
Next, think about where you place them. Keep the reels off concrete floors—use pallets or a wooden platform instead. This avoids moisture wicking up from the ground and reduces pressure points that could damage the jacket. When you wrap the cables, do it loosely; tight coils create stress spots that can split later.
- Check temperature daily with a simple thermometer.
- Use a hygrometer to keep an eye on humidity levels.
- Wrap cables loosely to avoid pressure points.
Frankly, these habits keep the insulation soft and prevent cracking when the cables face outdoor conditions. Following this routine saves time and cuts down on damage risk. Worth knowing: a little prep now means fewer replacements later.
Got any other tips for keeping gear in shape? Let’s hear them.
Recommended Products

90% UV AND VISIBILITY BLOCKING: Protect your privacy while also providing some welcome shade for your kids, plants or pets! Our versatile fence screen readily replaces and surpasses regular mesh tarp or chicken wire and is ideal for outdoor use: backyard, greenhouse or kennel.

Dimensions: 2 Channel | 10 Pcs | Channel Size is 3.9” W x 3.3” H | Overall Size is 35” L x 24” W x 4.13” H | Weight 63 Lbs | Operating Temperature Range from - 40º F to 131º F | Meets MUTCD, OSHA, RoHS

Robust Tank Construction: Color: Black. Our transfer tank is constructed of high-quality polyethylene material, capable of handling changing weather conditions, and resists UV radiation. The upper lid is lockable by a copper lock that guards against theft and ensures the security of operation. Put your tank first and get the job done right.
Minimum Temperature Requirements for Outdoor Cable Storage
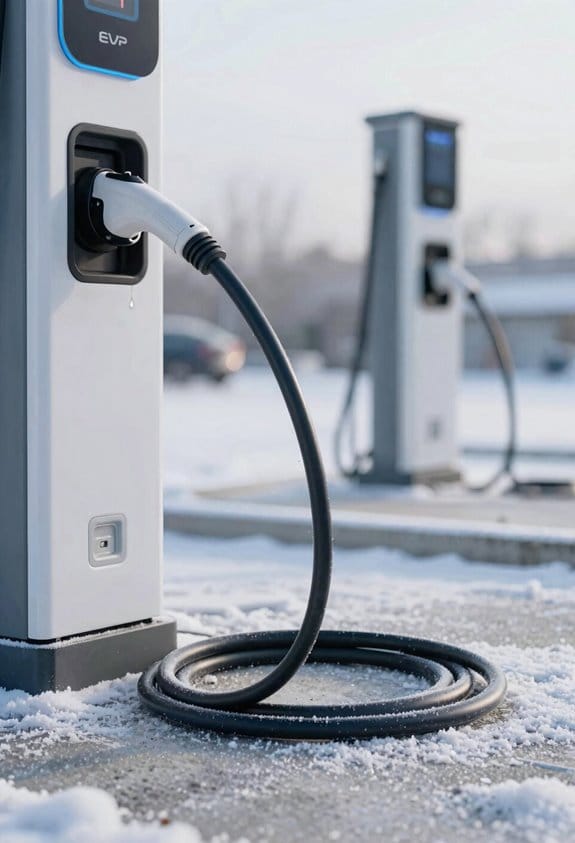
Ever had to grab a coil of outdoor cable on a frosty morning, only to find the jacket cracked and the wires stiff? That’s what happens when you store them below their rated temperature. The good news is you can keep them flexible and safe by watching the cold.
First off, pull out the spec sheet for each cable. It’s the place where the thermal acceptance range lives, and you’ll see a minimum temperature listed there. That number is your baseline—don’t let the storage area dip below it.
Next, set up your storage spot so it stays at least five degrees Fahrenheit warmer than that minimum. It doesn’t have to be a fancy climate‑controlled room; even a simple garage with a space can work if you keep an eye on the thermometer. Speaking of which, a reliable thermometer is a must. Check it daily and jot down the readings so you can spot any drift before it becomes a problem.
Avoid drafts like the plague. A cold breeze sneaking in through a cracked window can drop the local temperature in seconds, and that’s enough to make the jacket brittle. If you notice a draft, seal it up or move the cables to a more sheltered nook.
Worth knowing: Warm the cables before you actually use them. Pop them into a space that stays between 68 °F and 77 °F for about a day. That gives the insulation time to regain its flexibility, and you’ll avoid any nasty surprises when you start working.
Frankly, these steps are simple, but they save a lot of hassle. Keep the temperature up, monitor it, and give the cables a warm‑up period. Your future self will thank you when the job goes smoothly. Ready to give your cables the care they deserve?
Storage Cost Comparison: Indoor vs. Outdoor Cable Storage
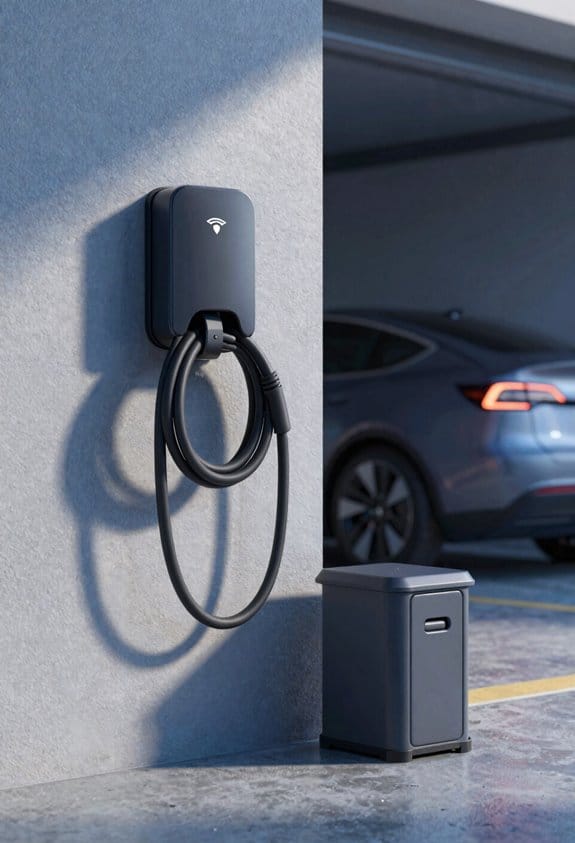
Ever wondered why your cable budget seems to balloon every time you plan a project?
Because costs are tight, you’ve got to weigh indoor versus outdoor storage options. A quick glance shows indoor storage usually costs less per foot—lighter material, fewer protective accessories. Outdoor storage, on the other hand, adds the price of UV‑resistant jackets, waterproofing, and sturdier racks.
Key points for lifecycle cost****
- Indoor storage: lower upfront price, but higher risk of damage if you end up using it outdoors, which can boost future repair bills.
- Outdoor storage: higher initial spend, yet it cuts failure rates in harsh weather, lowering long‑term maintenance.
Recommendations
- Store cables in climate‑controlled rooms when possible.
- Use outdoor‑rated racks only for outdoor‑grade cable.
- Track usage to avoid buying excess indoor cable for outdoor jobs.
These steps keep total lifecycle cost in check.
Frankly, the biggest savings come from matching the right rack to the right cable and staying on top of your inventory.
Try this: set up a simple spreadsheet that logs each cable’s location, type, and expected usage. When a project needs outdoor gear, you’ll instantly see if you already have the right stock or need to order more.
By keeping an eye on where your cables live and how they’re protected, you’ll dodge surprise repair costs and keep your budget on track.
What’s the next project you’ll tackle with a smarter storage plan?
Recommended Products

TWISTED POLYPRO ROPE - Lightweight “UnManila” nautical rope is a stronger, synthetic version of the classic manila fiber Utility Rope. A versatile all-purpose utility cord ideal for a wide range of indoor and outdoor applications. Such as nautical and marine use, around the ranch or farm, as a decorative embellishment for landscaping, or in a game of tug-o'-war!

No Legs, Just Pure Stability: Let’s be real—who has time for awkward leg setups or constant adjustments? The Pivot Axis Hinge System lets your awning stand completely all on its own. It’s built to hold strong even in wind picks up to 18.6 mph, keeping it stable, steady, and sag-free. Unlike other awnings that need constant tweaking, ours stays put no matter how strong the wind blows. So you can kick back and relax without worrying about the weather.

1. Quick to set up – Independently developed structure with a simple design, can be easily opened or retracted by one person within 20–30 seconds
Warehouse Organization for Outdoor Cable Storage
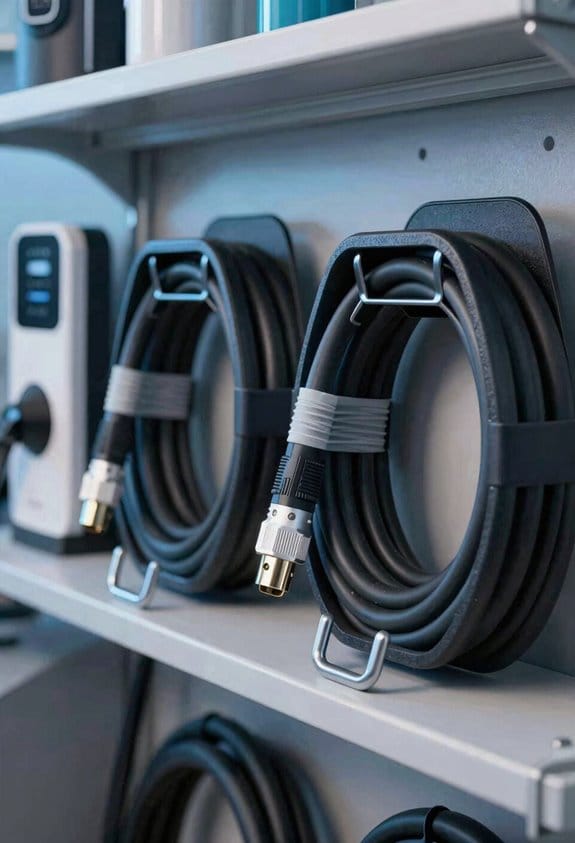
Ever notice how a tangled mess of outdoor cables can turn a simple project into a full‑on headache? I’ve been there, and a few small changes can keep your warehouse running smooth as a well‑lubed hinge.
Designate zones – Put all outdoor‑rated cables together in one area and keep the indoor‑rated ones separate. It’s easy to spot what you need and avoids mixing the two.
Label aisles – Bright tags on the outdoor sections help anyone find the right spot fast. A quick glance and you’re set.
Create inventory rotation – Move the older rolls to the front and stash the fresh stock at the back. That way you always use the stuff that’s been sitting longest first.
Use pallet stacking**** – Load pallets on sturdy racks and keep the weight balanced. Even distribution stops wobbling and makes the whole stack safer.
Separate by type – Group UV‑resistant, waterproof, and oil‑resistant cables apart. When you know exactly where each kind lives, you cut down on time hunting.
Maintain clear paths – Keep aisles at least three feet wide. Nobody likes squeezing past a narrow lane, especially when you’re hauling heavy rolls.
Check humidity – If moisture starts to rise, a dehumidifier can save your cables from getting soggy. It’s a small investment that pays off quickly.
Inspect pallets – Swap out any damaged pallets before you load new stock. A broken pallet can cause a cascade of problems.
Track stock – Log each pallet’s location in a simple spreadsheet. You’ll wonder how you ever managed without it.
Schedule audits – Walk the warehouse monthly to verify zones and stacking. A quick walk‑through catches issues before they grow.
Try this: write down the exact spot for each cable type on a piece of paper and stick it on the wall. It’s a low‑tech hack that keeps everyone on the same page.
Fair warning: if you skip the humidity check, you’ll end up with corroded connectors and a lot of wasted money. Keep an eye on the moisture meter and act fast.
Do you feel ready to tidy up your cable storage? Give these steps a go and see how much smoother your day runs.
Recommended Products

Floor-standing rack enclosure server cabinet for accomodating 12U of standard 19-inch rackmount equipment in harsh environments

Unmatched Strength – Heavy-duty steel frame built to handle up to 1,000 lbs, engineered for utility, telecom, and electrical job sites where reliability matters.

Good product with good quality
Typical Cable‑Jacket Damage in Outdoor Cable Storage
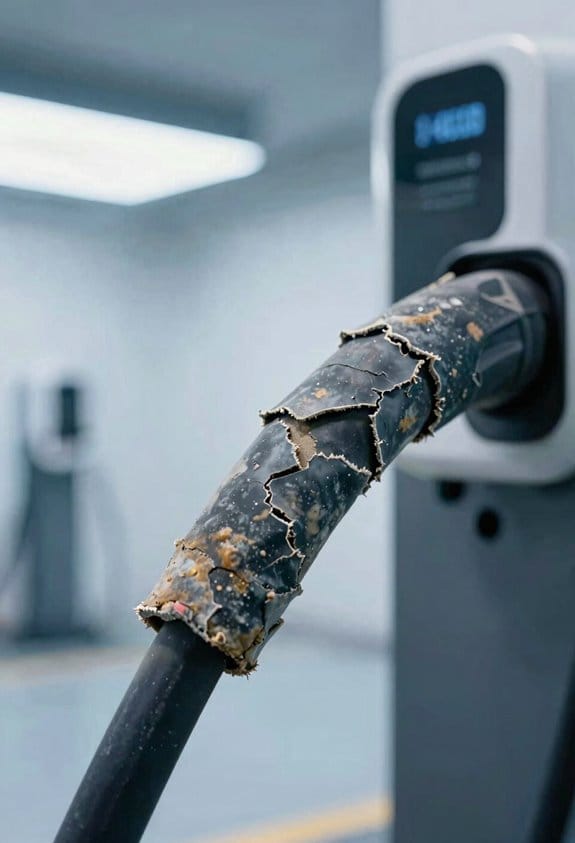
Ever noticed your outdoor cables looking worse after a season in the shed? You’re not alone—jacket damage can sneak up on you, and it’s usually one of three things: UV embrittlement, chemical staining, or moisture‑induced cracking.
Recommended Products

90% UV AND VISIBILITY BLOCKING: Protect your privacy while also providing some welcome shade for your kids, plants or pets! Our versatile fence screen readily replaces and surpasses regular mesh tarp or chicken wire and is ideal for outdoor use: backyard, greenhouse or kennel.

【𝗦𝗨𝗣𝗘𝗥 𝗛𝗘𝗔𝗩𝗬 𝗗𝗨𝗧𝗬 𝗡𝗘𝗪 𝗣𝗔𝗧𝗘𝗡𝗧 𝗗𝗘𝗦𝗜𝗚𝗡】: Made of 260 GSM permeable extra heavy duty fabric, heavy duty stainless mounting rings, cable wires built-in edges, integrate into the mounting rings, all pulling strength goes to the cable wires, not only making the edges more durable, it also enhence the appearance of shade sail.

【𝗦𝗨𝗣𝗘𝗥 𝗛𝗘𝗔𝗩𝗬 𝗗𝗨𝗧𝗬 𝗡𝗘𝗪 𝗣𝗔𝗧𝗘𝗡𝗧 𝗗𝗘𝗦𝗜𝗚𝗡】: Made of 260 GSM permeable extra heavy duty fabric, heavy duty stainless mounting rings, cable wires built-in edges, integrate into the mounting rings, all pulling strength goes to the cable wires, not only making the edges more durable, it also enhence the appearance of shade sail.
UV embrittlement
Sunlight can fade the jacket and make the material stiff. Once it’s brittle, cracks appear fast. Store cables in a shaded spot or drape a UV‑blocking tarp over them. This simple step keeps the outer layer flexible and looking fresh.
Chemical staining
Oils, solvents, or other chemicals nearby can seep into the jacket, leaving discoloration and weakening the surface. Keep cables away from any chemical storage, and consider sealed containers for extra protection. It’s a small habit that pays off when you need the cable to hold up.
Moisture damage
Water loves to find gaps and seep into the jacket, causing it to swell and split. Use waterproof bins and make sure the storage area stays dry. A dry environment means the jacket stays intact and the cable stays reliable.
Worth knowing:
- Cover your cables with a UV‑blocking tarp when they’re out in the sun.
- Seal them in containers if you’re near any chemicals.
Follow these steps and you’ll extend the life of your cables without a lot of hassle. Got any other tricks that have worked for you? Let’s hear them!
Frequently Asked Questions
Can Humidity Affect Cable Performance During Long‑Term Storage?
We’ve seen humidity can cause moisture migration, leading to insulation embrittlement over time, so we recommend storing cables in climate‑controlled environments and using desiccants to preserve flexibility and performance.
Should I Rotate Cable Spools to Prevent Uneven Aging?
We recommend rotating spools regularly, battling brittle buildup. By rotating spools, we mitigate uneven aging, and thermal cycling stays steady, extending cable life and ensuring consistent performance across all environments.
Is It Safe to Store Cables Near Chemical Solvents?
We don’t recommend storing cables near chemical solvents; the solvent offgassing can degrade jacket materials, and chemical compatibility issues may cause swelling or brittleness, leading to premature failure.
Do I Need to Label Cables by Manufacturing Date?
We definitely should label cables with their manufacture date—think of it as a passport for warranty records and manufacture tracking, keeping everything organized and future‑proofing your inventory.
Can Metal Conduits Be Used for Indoor Cable Storage?
We can use metal conduits for indoor cable storage, but we must follow grounding requirements, ensuring proper bonding and continuity to meet code and protect against fault currents.