As an Amazon Associate, we earn from qualifying purchases. Some links on this site are affiliate links at no extra cost to you. Our recommendations are based on thorough research and editorial judgment.


What to Know Before Planning a Home EV Charging Space

We should first match the charger type to our weekly miles—Level 1 for light use, Level 2 for frequent or long trips. Next, we need to check the main panel’s amp rating, count open slots, and plan a dedicated 240 V circuit or a sub‑panel if needed. Then we map the parking spot, measure the straight‑line distance to the outlet, and add a few feet for slack, mounting the unit 36–48 inches off the floor. We must obtain a local permit, follow NEC Article 625, and schedule an inspection. Finally, we budget for the charger ($600), wiring ($150–$400), and permit ($50–$300), while applying federal and state incentives for up to $1,800 total savings. If we keep these steps in mind, we’ll set up a safe, efficient charging space and learn more about smart‑charging options.
Key Takeaways
- Determine your daily mileage and choose Level 1 (120 V) for light use or Level 2 (240 V) for frequent, longer trips.
- Assess your home’s electrical panel capacity, locate the main breaker, and plan a dedicated 240 V circuit or sub‑panel if needed.
- Measure the distance from the panel to the parking spot, add a few feet for slack, and select appropriate cable length and conduit.
- Obtain a local electrical permit, ensure NEC Article 625 compliance, and schedule an inspection after installation.
- Research federal tax credits, state rebates, and utility off‑peak rates to offset costs and consider DIY wiring to save $100‑$200.
Choose Your Home EV Charger
You may be interested

Ever wonder why your electric car feels like a hassle to charge at home? The truth is, picking the right charger is all about matching your driving habits and the power you have in the garage.
First, think about how many miles you put on the road each week. If you only drive a few hundred miles a month, a Level 1 charger—just the standard 120‑volt outlet—might be enough. But if you’re cruising long distances daily, a Level 2 charger will cut your charging time dramatically.
Next, check where you park. A spot close to an outlet lets you use a portable station without hauling a long cord around. If you share a driveway, you might want a shared setup so several cars can plug into one unit.
Here’s the trick:
- Identify your daily mileage.
- Choose Level 1 or Level 2 based on that number.
- Locate the nearest power source.
- Decide between a wall‑mounted unit or a portable station.
- Plan for shared infrastructure if you have more than one car.
A quick look at your garage’s electrical panel can save you a lot of hassle later. If you have a 240‑volt circuit already installed, a Level 2 charger will slide right in. If not, a simple upgrade could be worth the investment.
Consider the convenience of a wall‑mounted charger versus a portable one. Wall‑mounted units stay put and keep cables tidy, while portable stations give you flexibility to move them around.
If you have neighbors or family members who also drive electric, think about a shared charger. One unit with a smart split‑circuit can handle multiple cars, and you’ll avoid buying several separate chargers.
Try this: map out where you park, note the distance to the nearest outlet, and then match that layout with the charger type that fits your mileage.
Recommended Products

INSTALL WITH CONFIDENCE: Formerly ClipperCreek, the core technology that comes inside every Enphase EV charger has earned its award-winning reputation by delivering industry-leading durability and reliability. Now they're made even better with a 5-year limited manufacturer warranty and 24/7 customer support. This HCS-80 hardwired home EV charger comes fully assembled and offers quick installation to a dedicated 80 Amp circuit with any licensed electrician.
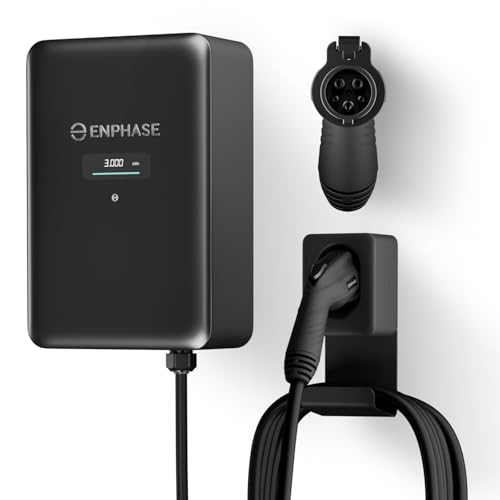
9× FASTER CHARGING: Get faster, smarter EV charging up to 11.5 kW (up to 46 miles/hour). Perfect for overnight charging or quick top-ups.

Lightning-Fast Charging Power – Deliver up to 48 Amps and 11.5kW of power for rapid Level 2 charging—get EVs back on the road faster than ever.
Assess Your Home Electrical Panel for an EV Charger
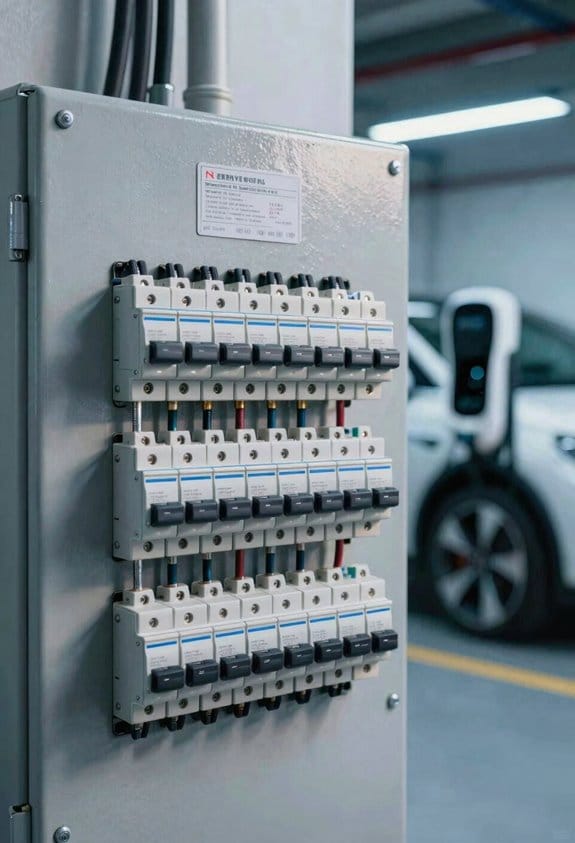
Ever wondered why your EV charger keeps tripping the breaker? It’s usually the panel. Can hidden won’t handle the extra load. A quick look at your main panel can save you a lot of hassle and keep things running safely.
Recommended Products

Quicker charging (30 Amps, 240V, Level 2): 4x faster charging than Level 1, 120V chargers. Operating temperature : minus 30 degree Celsius to plus 50 degree Celsius

THE BRAND YOU TRUST – Leviton has been in homes for over a century and electrifying vehicles for over a decade. Charge at ease with UL/Energy Star Certified stations supported by a 24/7 dedicated team

Versatile Charging Capability: The EVEMS240-200 (for 125A -200A Services) supports diverse EV charge rates including 20/24 Amp (4.8/5.7KW), 30/32 Amp (7.2/7.68 KW), 40 Amp (9.6 KW), and 48 Amp (11.5 KW), making it adaptable for various electric vehicles and other compatible devices. The compact size (8”x 6”x 4”) allows for easy installation near an electrical panel. The intelligent computer algorithm allows for extended “on” times. EV CHARGER SOLD SEPARATELY. Works with any Brand of EV Charger.
Check the Main Breaker
First, find the main breaker and note its amp rating. This tells you the total amount of current your whole house can draw at once. If the rating is close to what you’ll need for the charger, you’ll have to think about balancing the load.
Count the Slots
Next, count the open slots in the panel. If there aren’t any, you’ll probably need a sub‑panel. That adds a few more spots for new circuits without overloading the existing ones.
Look at Existing Circuits
Take a quick inventory of the current draw on all the other circuits. Add up the amperage of each to see how much is already being used. Compare that sum to the panel’s overall capacity. If you’re near the limit, you’ll need to upgrade before you add the charger.
Dedicated 240 V Circuit
A Level 2 charger wants its own 240 V circuit. That means a dedicated breaker and a proper gauge of wire. It’s not something you can just tap into an existing outlet without checking the specs.
Worth knowing: If your panel is undersized, schedule an upgrade now. It’s a small investment that prevents bigger problems later.
Try this: Turn off all non‑essential appliances, then run a simple amp‑meter test on each circuit. That’ll give you a clear picture of how much room you have left for the charger.
—
If you follow these steps, you’ll know exactly whether your panel can handle the new charger or if a quick upgrade is needed. Ready to give your home the power it deserves?
Plan Safe Placement & Cable Length for Your Home EV Charger
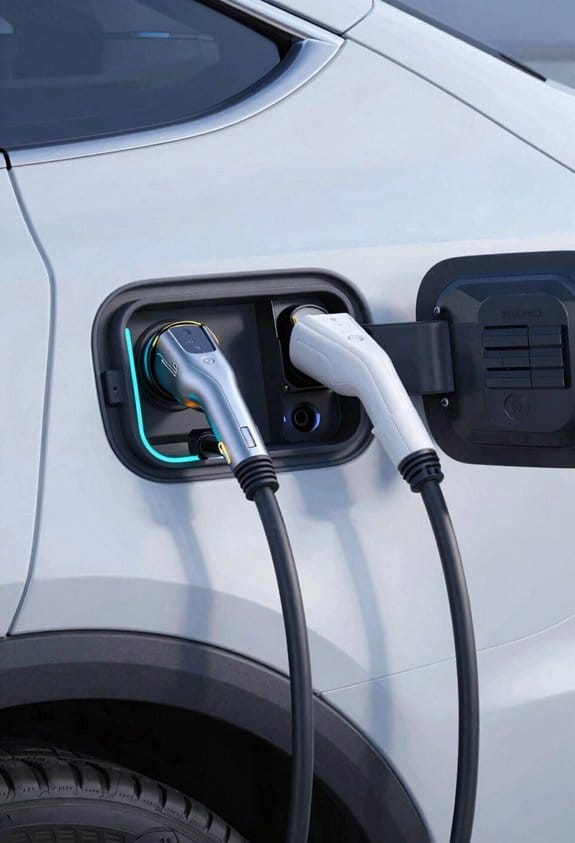
Ever tried to plug in your new EV charger and realized the cord just won’t reach without getting tangled? You’re not alone—finding the right spot and cable length can feel like a mini‑puzzle, but a few simple steps make it painless.
First, measure the distance from your outlet straight to the front bumper of your car. You’ll want a cord a little longer than that—about two to three feet extra—so you have some wiggle room without a cable. Mount the charger where it’s easy to see, roughly eye level, which is usually 36 to 48 inches off the floor. That height keeps the plug handy and avoids bending over every time you charge.
Frankly, keep the cord away from anything that gets hot or sharp edges. A garage heater, a metal shelf, or a toolbox could damage the cable over time. Also, think about your storage needs; you don’t want the cord blocking shelves or getting in the way of seasonal gear.
Try this: pick a wall that lets the cord run straight, not around corners. A straight path looks cleaner, reduces wear on the cable, and makes it easier to pull the plug in and out. It also helps keep the garage looking tidy, which is a nice bonus when you’re juggling tools and storage boxes.
- Measure from outlet to car’s front bumper.
- Choose a cable length two to three feet longer than that distance.
- Mount the charger at about 36‑48 inches high.
- Keep the cord clear of heat sources and sharp edges.
- Make sure it doesn’t block shelves or seasonal storage items.
Recommended Products

Dual Charging on a Single Circuit: Charge two EVs simultaneously with the HCS-D40’s dual-port design, delivering 32 Amps to one vehicle or 16 Amps to two vehicles, minimizing the need for costly electrical upgrades.

HEAVY-DUTY 6 GAUGE WIRE: Features 500 ft of 6/3 wire with ground, ideal for residential and commercial electrical installations requiring reliable power and durability.
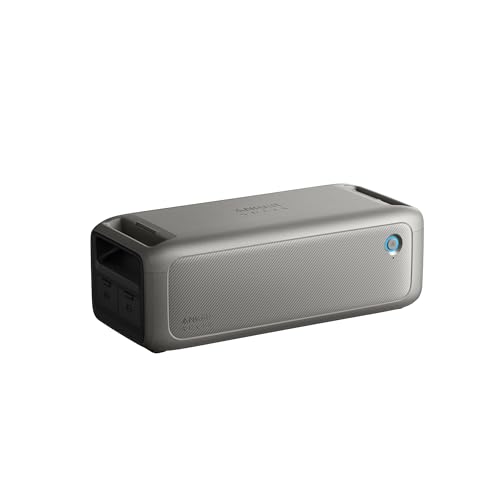
3kWh Starting Capacity: Keep essential appliances powered for 10 hours. Use batteries to expand to 24kWh and relax with 80 hours of outage-proof energy.
Secure Permits & Follow NEC Codes for Home EV Charger Installations
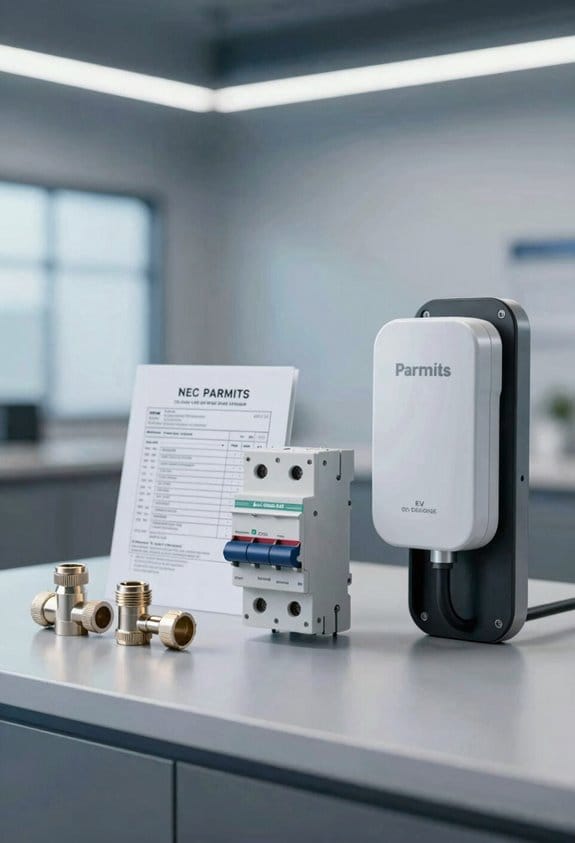
Ever wonder why your neighbor’s EV charger took weeks to get on the wall while yours is still just a dream? The secret isn’t magic—it’s paperwork and a few code rules that keep everything safe.
If we’re installing a Level 2 home charger, we must get a permit and follow the NEC rules. We start by applying for a local electrical permit. The permit timelines usually range from a few days to two weeks, depending on the municipality. After the permit is approved, we schedule a building inspection to confirm code compliance.
Steps to secure permits and follow NEC codes
- Contact the city building department for the correct form.
- Submit the plan showing a dedicated 240‑V circuit and proper wire gauge.
- Pay the fee; costs typically fall between $50 and $300.
- Await the permit; track the timeline to avoid delays.
- Arrange a building inspection after installation.
- Verify that the charger meets NEC Article 625 and includes required GFCI protection.
Frankly, the process isn’t as scary as it sounds. First, call your city’s building office and ask for the EV charger permit form. Most offices will email you a PDF, and you can fill it out at home. Next, draw a simple diagram that shows a 240‑V line, the right‑size wire, and where the charger will sit. That picture is what the inspector will look at later. Worth knowing: the fee usually lands between $50 and $300, so budget a little extra for that.
Once you’ve submitted the paperwork, keep an eye on the status. Some towns give you a portal to check progress; others just call when it’s ready. If you’re waiting more than a week, a quick phone call can move things along. When the permit arrives, schedule the inspection for a day when you’re home—this way you can answer any questions on the spot.
After the charger is wired, the inspector will come by to make sure everything matches the plan and that the outlet has GFCI protection, as required by NEC Article 625. If they spot a problem, they’ll note it and give you a chance to fix it before the final sign‑off. Once you get the green light, you’re good to go—your charger is legal, safe, and ready for daily use.
Following these actions keeps the install safe and legal. Ready to get yours up and running?
Calculate Costs, Incentives, and Budget‑Friendly Options for a Home EV Charger
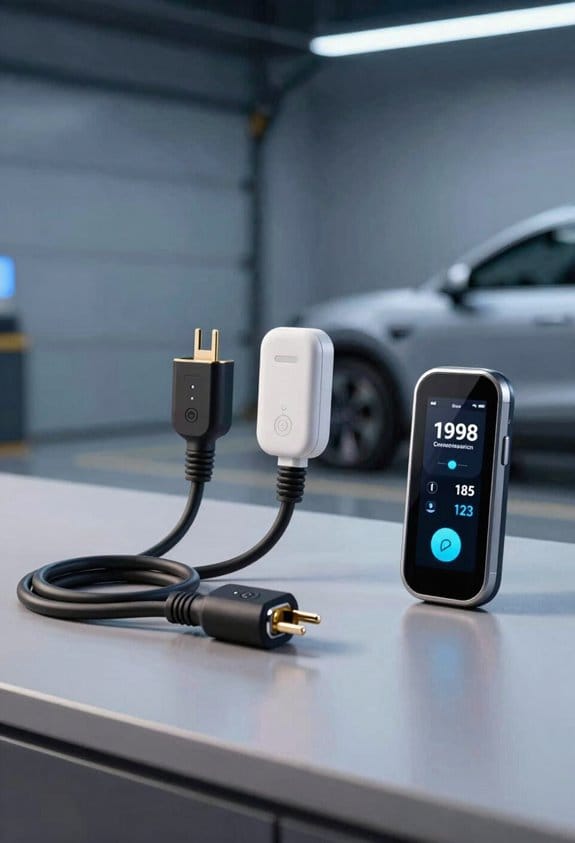
Ever wonder why your electric car feels like it’s stuck at home because you can’t charge it fast enough? I’ve been there, and the good news is you don’t need to break the bank to get a solid Level 2 charger installed.
Recommended Products

Energize Almost Everything. The EcoFlow DELTA Pro 3 supports 120V/240V voltage and has a 4000W output (6000W with X-Boost, scalable up to 12000W), powering nearly all essential home appliances, such as a 3-ton* central AC or a 1 HP water pump.
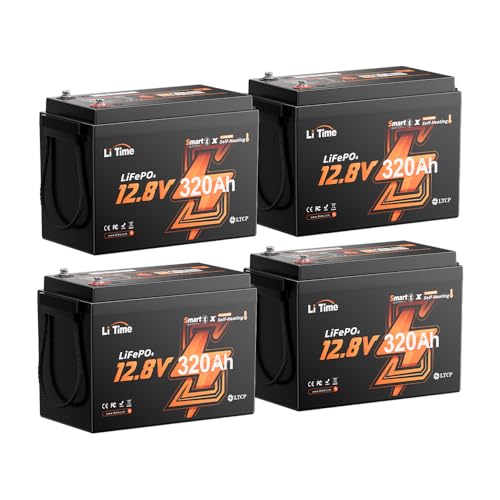
2 Upgraded Heating Modes: 12V 320Ah Mini Self-Heating Battery comes with Regular and Energy-Efficient options. Regular mode activates heating below 41℉(5℃) when charged, stops at 50℉(10℃) to begin charging—suits cold-weather needs.

Easily Scales Up. Adapt power to your lifestyle with expandable capacity from 3kWh to 11kWh. Add extra batteries to cover multi-day blackouts, RV living, or extended outdoor trips. Flexible, future-proof design grows with your needs—no compromises.
Main expenses
- Charger unit – $300‑$600 for a Level 2 model.
- Wiring and conduit – $150‑$400, depending on distance.
- Permit fees – $50‑$300.
Incentives you can tap
- Federal tax credit up to $1,000.
- State rebates ranging $200‑$800.
- Utility discounts for off‑peak charging.
Budget‑friendly choices
- Buying a used car charger can cut the unit price by 30‑50%.
- DIY upgrades such as installing a dedicated 240 V circuit yourself, if you feel comfortable with basic electrical work.
Total cost after incentives often falls between $400 and $800, keeping the project affordable. Worth knowing: you’ll likely see the biggest savings by checking both federal and local programs before you buy anything.
Frankly, the biggest surprise for me was how much the permit fees can vary—some towns charge a flat $50, while others ask for a full $300. If you’re handy, doing the wiring yourself can shave another $100‑$200 off the bill.
Try this: start by measuring the distance from your breaker panel to where you want the charger. That number will help you estimate wiring costs and decide whether a DIY run is realistic. If the run is short, you might even skip the conduit and save a bit more.
In the end, a little research and a bit of elbow grease can turn a pricey project into a simple, budget‑friendly upgrade. Ready to get your EV charging faster?
Future‑Proof Your Home EV Charger With Smart‑Charging Features
Ever wonder why your EV charger seems to hog the whole house’s power?
Smart charging can actually keep your electric bill in check and protect your home’s wiring. Pick a charger that offers adaptive load‑management so it can juggle your other appliances and stop the panel from overheating. You’ll also want a model that lets you schedule charging during off‑peak hours—those cheaper rates can add up fast.
What to look for
- Adaptive load‑management protects the circuit.
- Vehicle‑to‑grid can feed power back when needed.
- Smart apps show real‑time usage and cost.
Getting set up
- Choose a model with vehicle‑to‑grid capability.
- Enable schedule settings in the app.
- Connect the charger to Wi‑Fi for remote updates.
Frankly, the app is where most of the magic happens. You can see exactly how much energy your car is drawing and tweak the schedule on the fly. If you’re not sure when to start charging, try this: set the charger to begin just after the utility’s off‑peak window opens. That way you’ll avoid the pricey daytime rates without having to think about it each night.
Worth knowing: many chargers will automatically pause if they detect a surge in home demand, so you don’t have to worry about tripping a breaker. This safety net lets you charge while the dishwasher runs or the air‑conditioner kicks on.
Give it a try and see how much you can save—your wallet (and your breaker box) will thank you.
Recommended Products

Charge with Confidence: ChargePoint builds reliable, flexible EV charging stations for home, business, and fleets. Get 24/7 support and access to hundreds of thousands of North American charging locations.
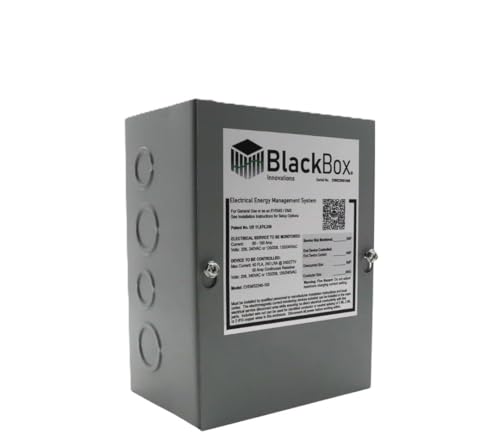
VERSATILE CHARGING CAPABILITY: The EVEMS240-100 supports diverse EV charge rates including 16 Amp (3.8 KW), 20/24 Amp (4.8/5.7KW), 30/32 Amp (7.2/7.68 KW), 40 Amp (9.6 KW), and 48 Amp (11.5 KW), making it adaptable for various electric vehicles and other compatible devices. The compact size (8”x 6”x 4”) allows for easy installation near an electrical panel. The patented intelligent computer algorithm allows for extended “on” times. EV CHARGER SOLD SEPARATELY.Works with any Brand of EV Charger.

Fast Charging Without Upgrades: Overcome limited electricity service and charge at the maximum speed possible, without upgrading your panel—thanks to Emporia’s PowerSmart technology that works with your existing electrical panel to automatically balance load.
Frequently Asked Questions
Will a Level 2 Charger Work With a Standard 120 V Outlet?
We can tell you a Level 2 charger won’t run from a standard 120 V outlet; it has a hardwired requirement, and adapter myths suggesting otherwise are unsafe and non‑compliant.
Do I Need a Dedicated Circuit for a Level 1 Charger?
We don’t need a dedicated circuit for a Level 1 charger, but we still use proper dedicated wiring and make sure the breaker sizing matches the outlet’s 15‑amp rating, keeping everything safe and code‑compliant.
Can I Install a Charger in a Garage Without a GFCI?
We can’t skip a GFCI in a garage; even if you’re confident, the electrical code demands it to guard against ground faults, and ignoring it risks safety, liability, and future inspections.
What Happens if My Panel Is Already Full?
If your panel’s full, we’ll explore upgrade options—adding a subpanel, a service upgrade, or panel relocation. Some homes also consider battery backup to offset load, ensuring safe, reliable charging.
Are There Tax Credits for Smart‑Charging Features?
Yes, we can tap federal incentives and many utility programs that offer tax credits for smart‑charging features, so you’ll lower costs while adding automated load‑management and grid‑support capabilities.