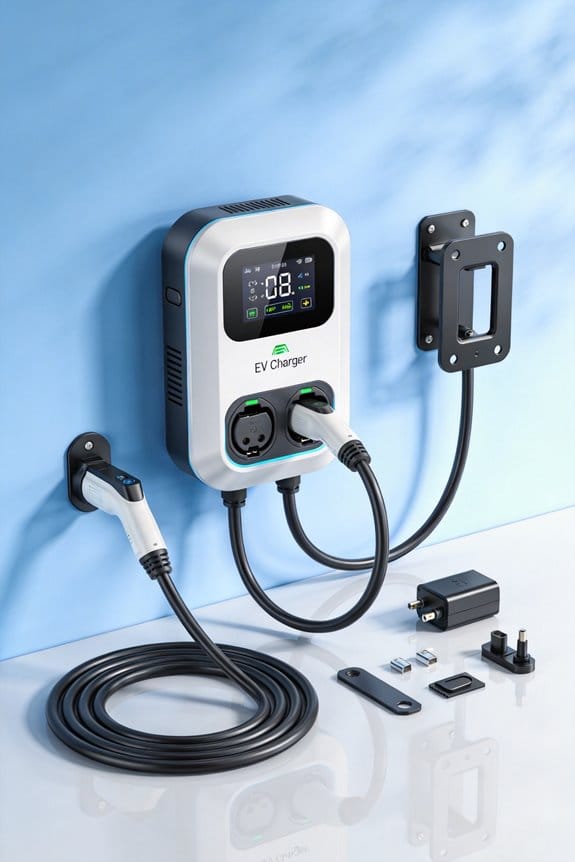
As an Amazon Associate, we earn from qualifying purchases. Some links on this site are affiliate links at no extra cost to you. Our recommendations are based on thorough research and editorial judgment.

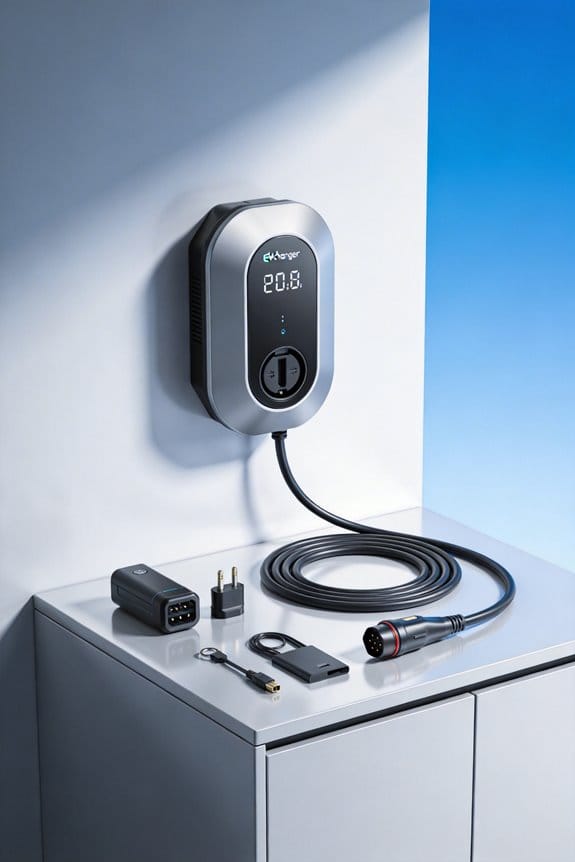
Why Wall-Mounted Chargers Are Becoming the Standard at Home

We’re seeing wall‑mounted EV chargers become the home standard because they save floor space, cut installation costs, and give a consistent, easy‑to‑use spot. 1) They need only a few inches of wall, keeping garages tidy. 2) Shorter conduit runs and existing studs reduce material and labor. 3) Fixed placement at eye level speeds daily connections and limits cable clutter. 4) Smart, modular designs future‑proof the system. If you keep going, you’ll discover more details.
Key Takeaways
- Wall-mounted chargers save floor space and keep cables tidy, making daily use faster and safer.
- They cost less to purchase and install because they require shorter conduit runs and fewer structural modifications.
- Installation is simpler, often needing only a stud‑mounted bracket and a dedicated 240‑volt circuit, reducing labor and permitting complexity.
- Smart, modular designs allow over‑the‑air updates and future upgrades like bidirectional charging without replacing the whole unit.
- High demand in dense urban markets and strong manufacturer production in Asia drive lower prices and widespread adoption.
Why Wall‑Mounted EV Chargers Lead the Residential Market
You may be interested


Ever tried to squeeze an EV charger into a cramped garage and felt the walls closing in? You’re not alone—many homeowners discover that a wall‑mounted unit just fits the bill.
We’re seeing wall‑mounted EV chargers take the lead in homes because they fit the space, cost, and convenience needs of most owners. In urban condos, limited garage space makes a wall‑mounted unit essential. Multi‑unit policy often requires a shared, tidy solution, and wall mounts meet that demand without extra structural work.
Key reasons:
- Space efficiency – only a few inches of wall needed.
- Cost savings – cheaper to buy and install than floor units.
- Convenience – cable stays fixed, reducing clutter.
What we recommend:
- Choose a Level 2 wall charger for faster charging.
- Verify the building’s electric panel can support a 240 V circuit.
- Follow local multi‑unit policy for placement and safety.
These steps guarantee a reliable, affordable setup for most residential settings.
Frankly, you’ll notice the difference right away. Try this: measure the wall space before you buy anything, and check your panel’s capacity with an electrician. That way you avoid surprises and keep the installation smooth.
Got a tight spot? A wall‑mounted charger can turn a cramped corner into a clean, efficient charging zone. It’s a simple swap that saves you time, money, and hassle.
Ready to upgrade your home charging? Let’s get that charger up on the wall and keep your car ready to roll.
Recommended Products

INSTALL WITH CONFIDENCE: Formerly ClipperCreek, the core technology that comes inside every Enphase EV charger has earned its award-winning reputation by delivering industry-leading durability and reliability. Now they're made even better with a 5-year limited manufacturer warranty and 24/7 customer support. This HCS-80 hardwired home EV charger comes fully assembled and offers quick installation to a dedicated 80 Amp circuit with any licensed electrician.
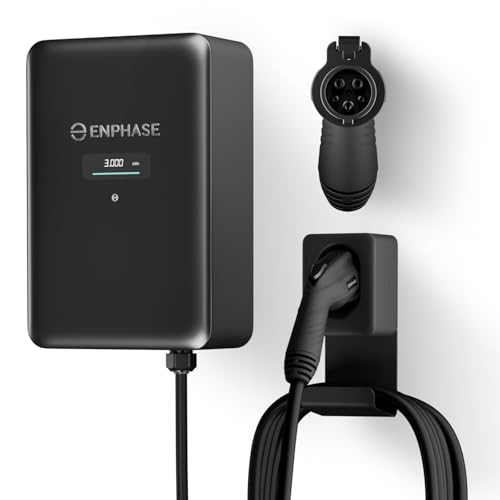
7× FASTER CHARGING: Get fast, reliable EV charging up to 9.6 kW (38 miles/hour) in a compact, flexible design that’s easy to use anywhere.

Lightning-Fast Charging Power – Deliver up to 48 Amps and 11.5kW of power for rapid Level 2 charging—get EVs back on the road faster than ever.
Save Space: Wall‑Mounted Design vs. Floor‑Mounted Units
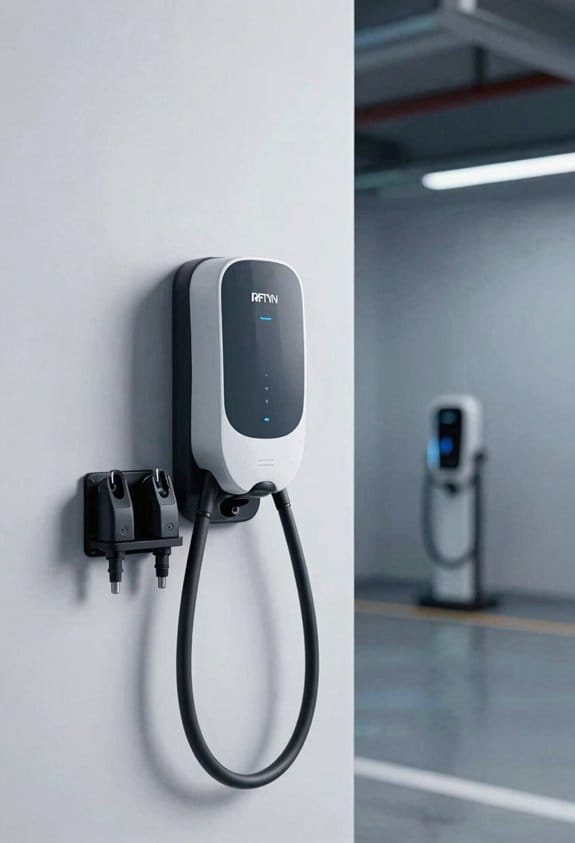
If your garage feels like a junk drawer, you might wonder how to fit a charger without taking up precious floor space. I’ve tried mounting one on the wall, and the difference is huge. The unit sits high up, leaving the floor free for a bike rack or a workbench, and the cord just drops straight down—no tangled loops to trip over.
Key points
- Floor space – No footprint, more room for other items.
- Vertical clearance – Keeps the charger out of the way of cars and tools.
- Cable routing – Direct wall conduit reduces clutter and tripping hazards.
Frankly, the wall‑mounted design frees up the whole garage floor. You can still park your car, store a lawn mower, or set up a workbench without squeezing around a bulky charger. The vertical placement also means you don’t have to worry about the cord getting caught on a toolbox or a stray bike tire.
Worth knowing: you’ll need a sturdy stud and a short piece of conduit, but the installation is quick and the payoff is immediate. Once it’s up, you’ll notice how much easier it is to move around, and you won’t have to constantly step over a cord when you’re grabbing a wrench.
These factors make wall‑mounted chargers a practical choice for tight residential garages. Ready to reclaim your floor space?
Recommended Products

【15 EVA DRAWERS】: This 72-inch tool chest features a spacious 15 drawers in 3 different sizes, including 3 upper cabinets and 1 pegboard, providing ample storage for all your tools and accessories. It helps you organize everything from small tools to large equipment neatly, making it easy to find what you need and saving you a lot of time.

120 volt, 3 channel 10 amp smart charger

UNIVERSAL COMPATIBILITY: Seamlessly transitions between NACS and J1772 connectors, accommodating all major North American EVs including Tesla Vehicles
How Wall‑Mounted Chargers Reduce Installation Costs
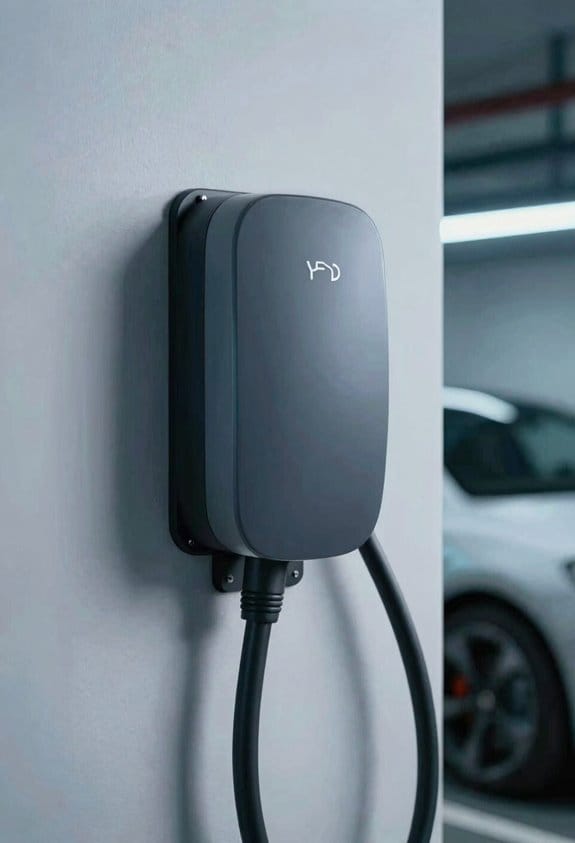
Ever tried to fit an EV charger into a tight garage and felt the cost creep up? You’re not alone. I’ve learned that a wall‑mounted unit can keep both space and the bill in check. The charger sits close to the breaker panel, so the run from breaker to charger stays short, which cuts down wiring hassle and labor time.
Shorter conduit runs – Less pipe and fewer bends mean lower material costs.
Simpler permits – Local codes often grant permit incentives for straightforward wall‑mounted setups because they meet safety standards quickly.
You can mount the charger on an existing stud, avoiding new concrete work. The cable can be attached directly to a 240 V circuit, eliminating extra junction boxes. These steps keep the bill low and speed up the project. By following this plan, you stay within budget while meeting code requirements.
Frankly, the less you have to dig and route, the quicker the job wraps up. Worth knowing: a tidy, near‑panel install also looks cleaner and makes future maintenance easier.
Ready to save time and money on your charger install? Let’s get it done right.
Recommended Products

【Robust 12kW Split Phase Power & 15.36kWh LiFePO4 Storage】: Experience seamless energy with a 48V 12kW all-in-one hybrid inverter supporting 120/240V split phase output, paired with a high-capacity 48V 314Ah (15.36kWh) LiFePO4 battery, ensuring reliable power for all your home and RV appliances.

FAST CHARGING: Pulsar Plus EV Charger is 9x faster than portable basic chargers, providing up to 45 miles of range per hour, depending on the electric vehicle. It provides up to 11.5 kWh and adjustable current intensity.

Fast Charging Without Upgrades: Overcome limited electricity service and charge at the maximum speed possible, without upgrading your panel—thanks to Emporia’s PowerSmart technology that works with your existing electrical panel to automatically balance load.
Convenient Daily Use: Fixed Position Benefits
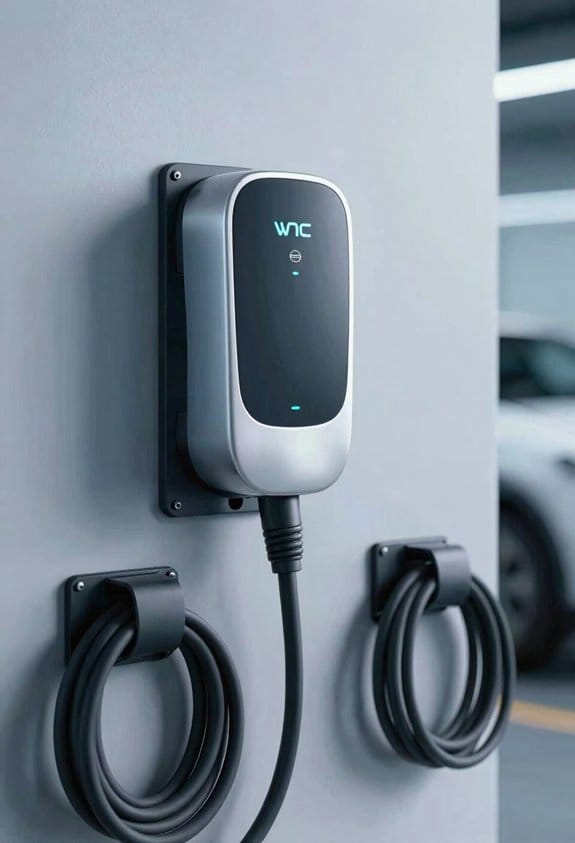
Ever find yourself hunting for a charger cable after a long day of errands? I’ve learned that keeping a wall‑mounted charger in a fixed spot makes life a lot easier. When the outlet lives right by the garage door, you can plug in without shuffling the car around, and the cord stays tidy instead of becoming a trip hazard.
Consistent spot – You always know where the outlet is.
Easy access – No bending or stretching to reach the plug.
Reduced clutter – The cord stays coiled or attached to a guide.
Faster charging – Connect quickly each night.
Frankly, the biggest win is the peace of mind that comes with knowing you won’t waste minutes searching for a free plug. The charger stays within arm’s reach, so you can focus on getting your car ready for the next day instead of wrestling with tangled cords.
Worth knowing: a simple cable clip or a short guide can keep the cord neat and out of the way. A little planning now saves you from a cluttered garage later.
Try this: mount the charger at eye level near the door, and use a Velcro strap to keep the cable snug when it’s not in use. You’ll notice the difference the moment you walk in and see everything in its place.
Got a favorite tip for keeping your garage organized? Share it below!
Emerging Trends Shaping Wall‑Mounted EV Chargers
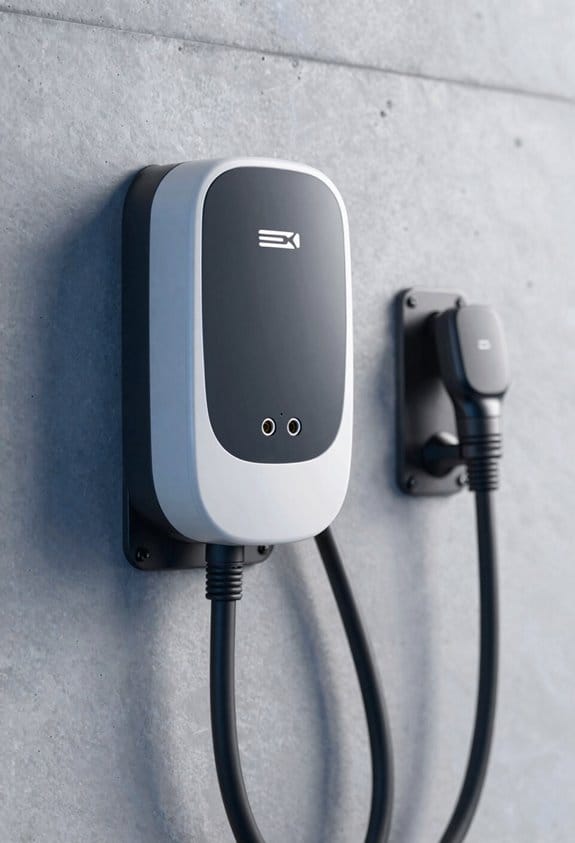
Ever found yourself staring at a wall‑mounted EV charger and wondering if it’ll still be useful in a few years? The truth is, the tech is moving fast, and a few key trends are making these chargers a lot more adaptable for everyday life.
Over the air updates
- Chargers receive firmware remotely.
- Updates improve safety and add new charging schedules.
- No technician visit is needed.
Modular hardware upgrades
- Base units accept plug‑in modules.
- We can add higher power or bidirectional capability later.
- Upgrades keep the system current without full replacement.
Smart integration
- Chargers link to home energy apps.
- They balance load with solar or grid pricing.
- Data helps us monitor usage and costs.
These trends make wall‑mounted chargers more flexible, future‑proof, and easy to maintain.
Try this: when you’re picking a new charger, look for one that offers OTA updates and modular add‑ons. It’ll save you a trip to the service center and let you boost power later if you need it.
If you’re already using a charger, consider syncing it with your home energy app. You’ll see real‑time usage and can shift charging to cheaper, greener hours.
Keeping your charger up to date isn’t just about convenience—it’s about safety, too. New firmware patches can fix bugs you never knew existed, and modular upgrades mean you won’t have to replace the whole unit when standards change.
Asia‑Pacific Market Share of Wall‑Mounted EV Chargers
Ever wonder why your neighborhood feels like it’s missing something when you drive past a parking lot? The answer might be right on the wall. In the Asia‑Pacific, about 70 % of the world’s wall‑mounted EV chargers are sold, and that surge is spilling over into our streets. China, Japan, and South Korea are shipping a lot of chargers, and local governments are turning empty parking spots into EV‑friendly zones. The result? More chargers pull in more buyers, which in turn pushes even more exports.
Frankly, you can spot three big reasons behind this trend. First, the export‑driven market keeps prices low enough for everyday folks. Second, city planners love wall‑mounted units because they fit tight spaces without hogging the lot. Third, many major cities offer incentives that speed up the rollout.
Worth knowing: If you’re thinking about getting an EV, start looking at high‑density neighborhoods where these chargers are popping up. Align your charger’s specs with the local grid standards—most places use similar voltage and safety codes. And don’t ignore the export channels; they can help you find a reliable supplier without the hassle.
Try this:
- Scout out busy apartment complexes and office parks that already have wall‑mounted chargers.
- Check local government websites for any rebates or tax credits that apply to home installations.
What’s Involved in Installing a Wall‑Mounted Charger?
Getting a wall‑mounted charger installed can feel like a puzzle, especially when you’re juggling a busy schedule. You’ve got a spot on the wall, but you’re not sure what’s behind it or how the wiring will work. Let’s walk through what you need to know so you can get it done without a hitch.
Steps to follow
1. Turn off power at the breaker.
2. Install a dedicated 240‑volt circuit with a double‑pole breaker.
3. Mount the charger bracket.
– Use studs or metal plates for structure reinforcement if the wall is drywall only.
4. Run conduit from the panel to the bracket.
5. Connect wires, secure the charger, and test voltage.
Frankly, the first thing you should do is a quick site check. Measure the distance to the electrical panel, note any nearby plumbing, and make sure there’s enough wall space for the charger and its bracket. Most cities need a permit for a new 240‑volt circuit, so you’ll have to submit plans and wait for approval before you start cutting drywall.
Knowing the trick is to keep the wiring neat and protected. Run conduit that’s sized for the amperage you’ll be pulling, and avoid sharp bends that could stress the wires. If you’re not comfortable working with electricity, it’s a good idea to call a licensed electrician for the heavy lifting.
Once the charger is mounted, double‑check all connections before you turn the power back on. A voltage test will let you know if everything’s wired correctly. Finally, schedule a final inspection to close the permit. This step guarantees the charger meets code and runs safely.
Got any tips from your own installations? Share them below!
Recommended Products

【32153Wh LiFePO4 Battery】 Dawnice’s newest line of batteries –2 sets 51.2V 314Ah LiFePO4 battery provides 6000+ cycles & a 10 years lifetime with built-in 100A Battery Management System (BMS) protects it from overcharge, deep discharge, overloading, overheating and short circuit, and excessive low self-discharge rate. Support in parallel up to 16 sets, can be expanded in the future.
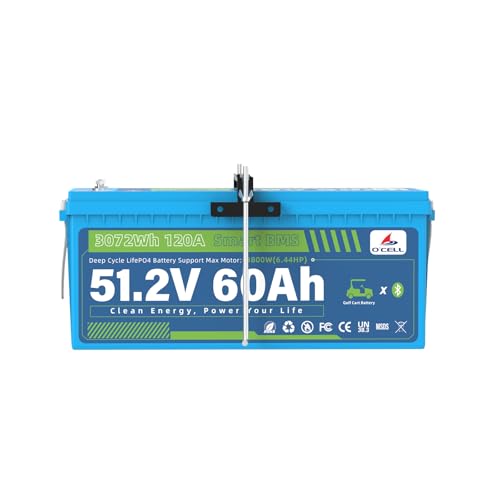
[Perfect Fit for 48V Golf Carts – Plug & Play] No compatibility guesswork! Designed exclusively for 48V golf carts, it works seamlessly with top brands: Club Car, EZ-GO, LVTONG, and Yamaha. Tailored size (fill in actual dimensions, e.g., 20.5*59.4*59.09IN) fits standard compartments – no cart mods or extra brackets. Max 2C continuous discharge & 130A (30S) peak current handle steep hills, rough terrain, and strong torque for smooth rides, eliminating range anxiety.
【All-in-One Kit + Mounting Bracket: No Extra Buys!】58.4V 15A IP67 charger, 4.9-inch LCD, retention strap & golf cart-specific Hold Down Plate with Rods included. 10-min unbox-install—no separate parts. Fits standard bays, saves $50+ on third-party kits. 【Hold Down Plate with Rods: No Shifting on Bumps】Steel rods + dedicated plate lock battery securely. Pre-drilled for Club Car/EZ-GO—no drilling/mods. Prevents cell damage, extends life by 2+ years vs. loose installs.
Future‑Proof Features: Smart, Bidirectional, and Wireless Options
Ever wonder why your wall‑mounted charger feels a bit behind the times after a couple of years? It’s easy to get stuck with a basic unit that just plugs in and does its job, but a few smart upgrades can keep it useful for the long haul.
Smart integration – Pick a charger that talks to your phone app and home energy manager. It can schedule charging when electricity is cheap and show real‑time usage. You’ll see exactly how much you’re spending and can shift charging to off‑peak hours without lifting a finger.
Bidirectional charging – Choose a unit that can feed power back to the house or grid. When the grid spikes or the power goes out, your car’s battery can become a backup source. It’s a handy way to get extra juice without buying a separate generator.
Wireless options – Add a pad‑type receiver for cable‑free charging. No more wrestling with plugs that wear out or get stuck in the garage. A simple pad keeps the space tidy and cuts down on wear and tear.
These steps line up nicely with upcoming regulations and new tech standards. They also protect your investment as EV standards evolve.
Try this: start with the smart integration, then add a bidirectional unit if you have a backup power plan, and finish with a wireless pad for convenience. You’ll end up with a charger that feels modern for years to come.
Future‑Proof Features: Smart, Bidirectional, and Wireless Options****
If you want your wall‑mounted charger to stay useful for years, consider adding smart, bidirectional, and wireless capabilities now. We recommend three future‑proof steps:
- Smart integration – Choose a charger that talks to your phone app and home energy manager. It can schedule charging when electricity is cheap and show real‑time usage.
- Bidirectional charging – Pick a unit that can feed power back to the house or grid. It lets you use stored vehicle energy during outages or peak‑price periods.
- Wireless options – Add a pad‑type receiver for cable‑free charging. It reduces wear on plugs and keeps the garage tidy.
These features keep the system compatible with upcoming regulations and tech upgrades. They also protect your investment as EV standards evolve.
Ready to give your charger a future‑proof boost?
Frequently Asked Questions
Can Wall‑Mounted Chargers Be Retrofitted Into Existing Homes?
We installed a 240 V charger in a 2018 bungalow, upgrading the panel and using the existing garage wall as the mounting location. Yes, wall‑mounted chargers can be retrofitted with simple electrical upgrades and proper mounting spots.
Do Wall‑Mounted Units Support All EV Makes and Models?
We’ve found they’re universally compatible, meeting all major connector standards, so any EV make or model can plug in without hassle, and you’ll enjoy seamless charging across your entire vehicle lineup.
What Warranty Coverage Is Typical for Residential Wall‑Mounted Chargers?
We typically see a manufacturer warranty covering two to three years, and many of us add extended protection for up to five years, ensuring peace of mind as our chargers power daily drives.
How Does Weather Exposure Affect Outdoor Wall‑Mounted Charger Durability?
We’ve found that weather exposure can cause corrosion resistance issues and uv degradation, so we recommend sealed enclosures, stainless‑steel components, and UV‑stable coatings to keep outdoor wall‑mounted chargers durable.
Are There Financing or Lease Options for Home Wall‑Mounted EV Chargers?
We’ve seen neighbors tap a $2,500 financing program, turning a wall‑mounted charger into a monthly‑budget line item; lease options also exist, letting you spread costs while enjoying immediate home‑charging convenience.