As an Amazon Associate, we earn from qualifying purchases. Some links on this site are affiliate links at no extra cost to you. Our recommendations are based on thorough research and editorial judgment.

What Drivers Need to Know About Level 1 Vs Level 2 Charging

We recommend Level 1 for daily drives under 50 mi, using a standard 120 V outlet that adds about 2–5 mi per hour and takes 40‑43 h to fill a 60 kWh pack. Choose Level 2 if you travel 30‑50 mi daily or have two EVs; a 240 V circuit supplies 12‑60 mi per hour, fully charging a 60 kWh battery in 5‑8 h, but requires a dedicated circuit, a $800‑$2,000 install, and a panel check. Level 2 saves $1,200‑$1,800 yearly versus public chargers and offers smart timers, solar integration, and firmware updates. If you keep these points in mind, the next sections will give deeper guidance.
Key Takeaways
- Level 1 (120 V) adds 2‑5 mi of range per hour, suitable for drivers under ~50 mi/day; Level 2 (240 V) adds 12‑60 mi per hour, ideal for higher daily mileage.
- A 60 kWh battery charges in ~40 h on Level 1 vs. ~5‑8 h on Level 2, dramatically reducing overnight wait time.
- Level 2 requires a dedicated 240 V circuit, professional installation, and possibly a panel upgrade; Level 1 plugs into a standard outlet.
- Home charging at night (≈10¢/kWh) saves $1,200‑$1,800 annually versus public chargers (≈30‑40¢/kWh); Level 2’s faster charge maximizes these savings.
- Use Level 2 for fast overnight fills and to limit high‑power public charging; monitor battery temperature and avoid leaving plugged in after 100 % to preserve lifespan.
How Do Level 1 and Level 2 Home EV Chargers Differ in Power and Speed?
You may be interested


Ever wonder why your EV seems to charge at a snail’s pace at home while a friend’s zips up in minutes? The answer lies in the charger you’re using. Let’s break down what makes Level 1 and Level 2 chargers different so you can pick the right one for your daily drive.
Power
- Level 1 runs on a regular 120 V outlet, pulling about 12‑16 A. That translates to roughly 1.4‑1.9 kW of power.
- Level 2 needs a 208‑240 V circuit and can draw anywhere from 16‑80 A, giving you 3.3‑19.2 kW.
Speed
- With Level 1 you’ll add about 2‑5 miles of range each hour you plug in.
- Level 2 cranks that up to 12‑60 miles per hour, so you’re back on the road much faster.
Fair warning: Faster charging can heat the battery a bit more, so you might want to reserve Level 2 for when you really need the extra juice and follow good charging habits.
Battery health
– The extra heat from Level 2 isn’t a deal‑breaker, but it’s wise to keep an eye on temperature and avoid leaving it at full blast all the time.
Outlet compatibility
- Level 1 plugs into any standard household outlet—no extra work needed.
- Level 2 requires a dedicated 240 V circuit and a proper installation, which means a quick call to an electrician.
Grid impact
– Because Level 2 draws more power, scheduling it during off‑peak hours can help keep your electric bill lower and ease strain on the grid.
Try this: If you only drive short distances each day, a Level 1 charger might be all you need. If you’re logging longer trips or want to top up quickly, invest in a Level 2 setup.
Which charger fits your routine? Let’s make sure you’re never stuck waiting for a charge again.
How Many Miles Can You Add Each Hour With Level 1 vs. Level 2?
Ever find yourself staring at the charger and wondering how long you’ll have to wait for enough juice?
Level 1
- Provides an overnight trickle that works for short commutes.
- Ideal for drivers who need occasional range top ups.
- Adds roughly 2‑5 miles per hour, so a 5‑hour night gives 10‑25 miles.
Level 2
- Delivers 12‑60 miles per hour, suitable for most households.
- A 4‑hour evening charge adds 48‑240 miles, covering most daily needs.
- Good for range top ups when you have limited time.
If you’re only driving a few miles a day, a Level 1 might be enough. But when you’ve got a longer commute or a busy schedule, the Level 2 will save you a lot of waiting.
Frankly, the difference in speed can change how you plan your day. A quick 2‑hour plug‑in on a Level 2 can give you enough range for a weekend trip, while a Level 1 would need a full night.
Worth knowing: the right charger depends on your routine, not just your car’s battery size.
How Long Does a 60 kWh Battery Take to Fully Charge on Each Charger?
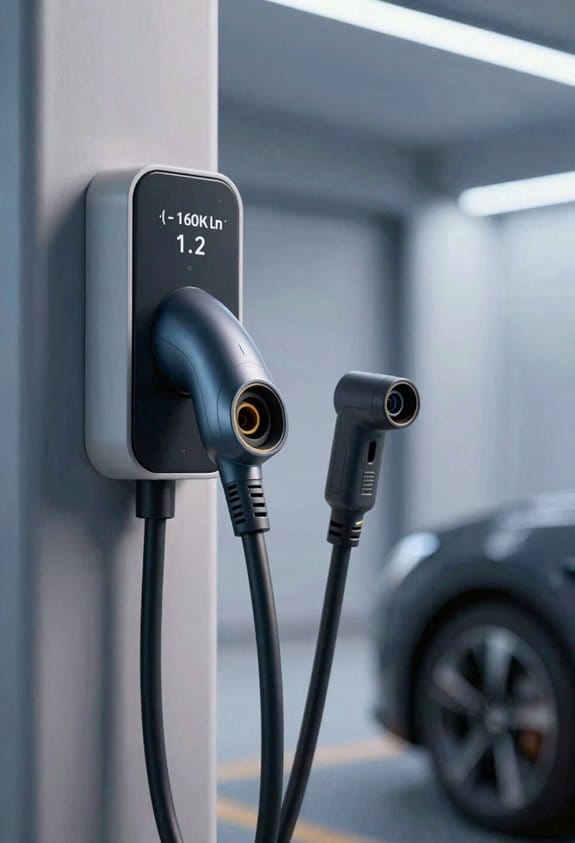
Ever wonder why your electric car sometimes takes forever to charge while other times it’s ready in a flash? The answer lies in the charger you plug into and a few simple habits you can adopt.
Level 1 (120 V, 1.4‑1.9 kW)
- It usually takes about 40‑43 hours to fill a 60 kWh pack.
- You’ll see roughly 2‑5 miles of range added each hour.
- It works fine if you only need a quick top‑off now night.
Recommended Products

Energize Almost Everything. The EcoFlow DELTA Pro 3 supports 120V/240V voltage and has a 4000W output (6000W with X-Boost, scalable up to 12000W), powering nearly all essential home appliances, such as a 3-ton* central AC or a 1 HP water pump.
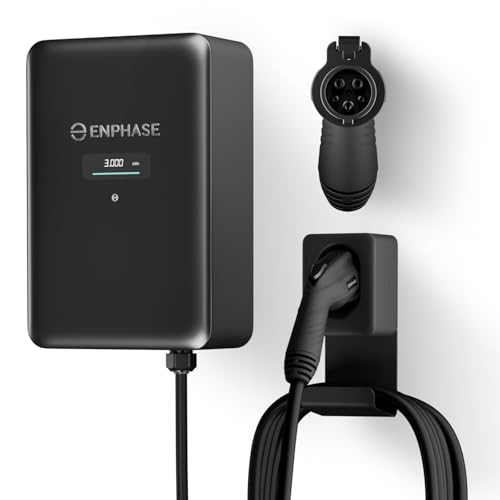
9× FASTER CHARGING: Get faster, smarter EV charging up to 11.5 kW (up to 46 miles/hour). Perfect for overnight charging or quick top-ups.

INSTALL WITH CONFIDENCE: The Enphase HCS-50 EV Charger, formerly known as ClipperCreek, delivers award-winning durability and reliability. Installation is quick and straightforward—connect it to a dedicated 50 Amp circuit by any licensed electrician.
Level 2 (240 V, 3.3‑19.2 kW)
- A full charge typically comes in 5‑8 hours.
- Expect 12‑60 miles of range per hour, depending on the exact power.
- This is the sweet spot for most daily drivers.
Frankly, the chemistry matters. Lithium‑ion cells like a steady, moderate charge rate, so you’ll get the best life out of them by avoiding extreme habits. Worth knowing: try not to leave the car plugged in after it hits 100 % and set a schedule that starts charging during off‑peak hours. Those small tweaks keep the battery healthy and can save you a few bucks on your electric bill.
Do you ever feel stuck waiting for a charge while you could be out on the road? The good news is that by matching your routine to the right charger, you’ll spend far less time tethered to a wall outlet.
Keep an eye on your charging habits and you’ll notice the difference. Ready to give your car the care it deserves?
Recommended Products

INSTALL WITH CONFIDENCE: Formerly ClipperCreek, the core technology that comes inside every Enphase EV charger has earned its award-winning reputation by delivering industry-leading durability and reliability. Now they're made even better with a 5-year limited manufacturer warranty and 24/7 customer support. This HCS-D50 hardwired home dual electric car charging station comes fully assembled and offers quick installation to a dedicated 50 Amp circuit with any licensed electrician.

Dual Charging on a Single Circuit: Charge two EVs simultaneously with the HCS-D40’s dual-port design, delivering 32 Amps to one vehicle or 16 Amps to two vehicles, minimizing the need for costly electrical upgrades.

Power Output: 32 Amp, 240V Level 2 charging, ideal for efficient charging in commercial/public environments. 20% to 80% in 8 hours for most EVs (Depends on Battery Size).
Level 2 Installation Costs & Requirements
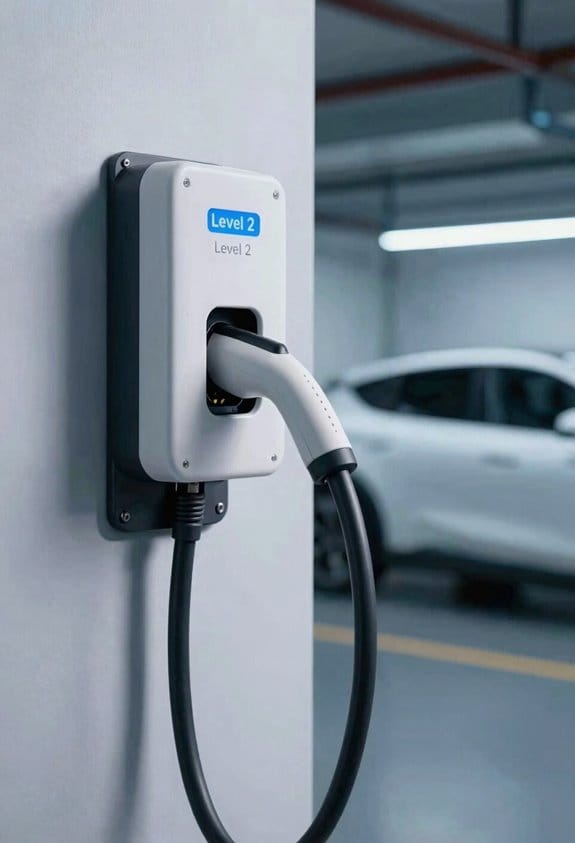
Ever wonder why your electric car feels stuck at home because you can’t charge fast enough? Installing a Level 2 charger can make a huge difference, but the price tag and the steps involved often catch people off guard.
First, you’ll need a load calculation to see if your panel can handle a new 240 V circuit. If the panel’s already full, plan on a $500‑$1,500 upgrade. That extra cost can feel steep, but it saves you headaches later. Next, check your local permit timeline—most cities take about two to four weeks for approval, so put that on your calendar. If your home needs trenching, expect to pay $1‑$2 per foot, depending on depth and soil conditions.
Key steps
- Perform load calculation.
- Check permit timelines.
- Plan wiring upgrades.
- Estimate trenching costs.
These actions keep the project on budget and on schedule.
Frankly, the biggest surprise is how much the wiring can add up. If the existing conduit is too small, you’ll need new material, which can push the total cost higher. It’s worth getting a few quotes before you decide, and always ask the electrician to break down labor versus parts.
Worth knowing: a good electrician will walk you through each step, from the initial calculation to the final inspection, so you won’t be left guessing. And remember, a solid plan now means you won’t have to pause later for unexpected upgrades.
Recommended Products

INSTALL WITH CONFIDENCE: Formerly ClipperCreek, the core technology that comes inside every Enphase EV charger has earned its award-winning reputation by delivering industry-leading durability and reliability. Now they're made even better with a 5-year limited manufacturer warranty and 24/7 customer support. This HCS-80 hardwired home EV charger comes fully assembled and offers quick installation to a dedicated 80 Amp circuit with any licensed electrician.


DUAL-PORT CONVENIENCE – Built with two independent charging ports, the REV+ dual port level 2 EV charger powers two EVs or plug-in hybrids simultaneously, making it ideal for households with more than one electric vehicle.
Who Benefits Most From a Home EV Charger Level 1?
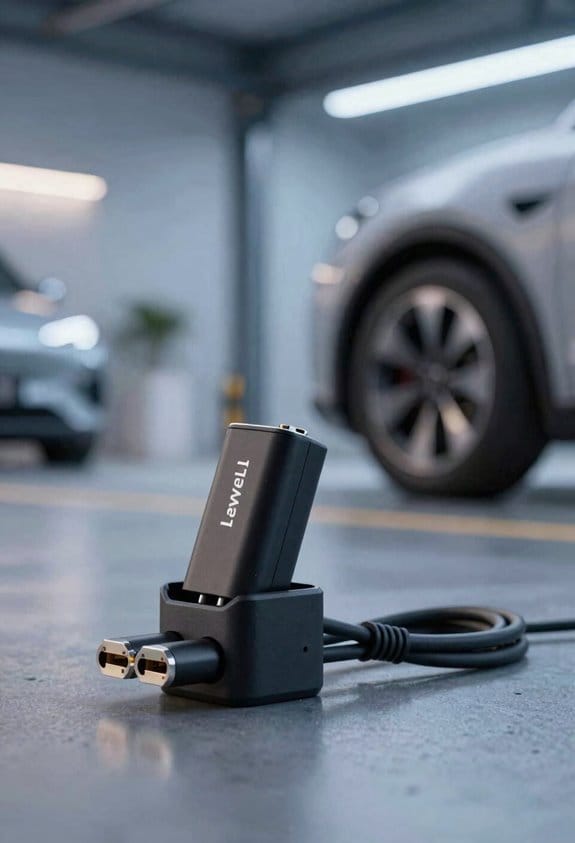
Ever feel like your EV’s battery never quite keeps up with your daily drive? If you’re only logging under 50 miles a day, a Level 1 charger might be the answer you didn’t know you needed.
Most drivers who travel less than 50 miles a day find a Level 1 charger sufficient. We see that low mileage owners benefit most because the charger adds 2‑5 miles per hour, so overnight charging restores their daily range. The portable convenience of a Level 1 unit means they can plug into any standard 120 V outlet, even when they move the car to a friend’s house or a vacation rental.
Who gains the most:
- Residents with limited garage space; no dedicated circuit needed.
- People who drive short trips and can leave the car plugged overnight.
- Users who want a simple, cost‑free setup and a charger that travels with the vehicle.
These groups find Level 1 meets their needs without extra installation or expense.
Frankly, you don’t have to overhaul your home’s wiring to keep your EV ready. Worth knowing: a Level 1 charger fits right into a regular wall outlet, so you can set it up wherever you have power. Try this: plug it in before you head to bed and let the few hours of sleep do the work for you.
If you’re living in an apartment or share a driveway, the lack of a dedicated circuit isn’t a deal‑breaker. You can just pull the charger into the garage or even onto a balcony—whatever spot has a 120 V plug. And when you’re traveling, the portable design lets you charge at a friend’s house without any hassle.
Who Should Upgrade to a Home EV Charger Level 2?
Ever wonder if a Level 2 charger is worth the upgrade? If you drive more than 30 miles a day, a Level 2 will keep your car ready. It also helps families with two EVs and those who need fast overnight fills. We recommend upgrading when:
- Daily range needs exceed Level 1 capacity – you’ll finish charging in 5‑8 hours instead of 40‑hours hours.
- Battery longevity matters – frequent deep‑cycle charging on Level 1 can wear cells faster; Level 2’s gentle, steady charge preserves health.
- You can follow charging etiquette – schedule charging during off‑peak hours and avoid over‑charging, which protects the battery and the grid.
- Install a dedicated 240 V circuit.
- Use smart timers to align with your routine.
These steps let you enjoy reliable power without compromising your vehicle’s lifespan.
Home EV Charger Cost Savings Compared to Public Stations
Ever wonder why your electric car’s charge feels pricey at public stations? You’re probably paying a lot more per kilowatt‑hour than you would at home. When you plug in after dark, many utilities offer night‑rate electricity that can be as low as ten cents per kilowatt‑hour. Public chargers, on the other hand, often sit around thirty‑to‑forty cents per kilowatt‑hour. Even with a membership discount, the gap stays wide.
First, figure out how far you drive each month. Then multiply that number by your car’s efficiency—how many kilowatt‑hours it uses per mile. That gives you a clear picture of the energy you need. Next, compare the cost of that energy at home versus at a public station. The math is simple, but the savings add up fast.
- Home charger cost: equipment $800, installation $1,200.
- Annual savings: $1,200‑$1,800 versus public.
- Break‑even in 2‑3 years.
If you’re looking for a quick win, try this: install a Level 2 charger in your garage. It lets you charge faster than a standard outlet and lets you take full advantage of night‑rate pricing. You’ll see the bill shrink and won’t have to hunt for a discounted public spot every time you need a top‑up.
Frankly, the biggest benefit isn’t just the money. It’s the convenience of pulling into your own driveway, plugging in, and forgetting about the whole “find‑a‑station” hassle. You’ll also reduce wear on your car’s battery by avoiding the higher‑power bursts that some fast chargers use.
Worth knowing: the upfront cost of the equipment and installation can feel steep, but the break‑even point usually lands around two to three years. After that, every charge is essentially free, aside from the tiny amount you pay for electricity.
Smart Features That Future‑Proof Your Home EV Charger
Ever wonder why your electric car feels cheap to charge at a public station but your home setup seems stuck in the past? The truth is, a smart charger can keep up with you and your growing energy needs without a whole new unit.
- Remote updates – Your charger gets firmware upgrades over Wi‑Fi, fixing bugs and adding functions without a technician.
- Energy alerts – It sends notifications when electricity rates change or when usage spikes, helping you stay within budget.
- Vehicle prioritization – If you own more than one EV, the charger can assign power to the car that needs it most, based on schedule or battery level.
- Solar integration – The unit can draw power from rooftop panels, reducing grid dependence and lowering costs.
These features make the charger adaptable, cost‑effective, and ready for new technology.
Try this: look for a charger that lets you set alerts for peak‑hour rates, so you can shift charging to cheaper times. Worth knowing: many models now let you schedule which car gets power first, which is handy if you have a family fleet.
Your home charger should feel like a sidekick that grows with you, not a relic you have to replace every few years. Got a favorite smart feature that’s saved you money? Share it below!
Decision Checklist: Choose the Right Home EV Charger for Your Lifestyle
If you’re still wondering whether your home charger will keep up with your daily drive, you’re not alone. A lot of folks get stuck choosing between a plug‑in that’s cheap but slow, and a faster unit that needs a bit of work up front.
Driving distance – Do you hit more than 50 mi a day? If so, a Level 2 charger will save you time.
Garage layout – Take a look at your wall space and where the outlet sits. Level 2 needs a 240 V outlet and its own circuit, so you’ll have to plan the wiring.
Household power – Check your breaker panel; it has to handle the extra load. If it’s already maxed out, you may need an upgrade.
Vehicle count – One car can get by with Level 1, but if you have two, Level 2 is the safer bet.
Charging etiquette – Think about when you’ll plug in. Charging off‑peak can lower your bill and keeps the neighborhood power grid happy.
Pros – Level 1 works with the outlet you already have, so there’s no install cost. Level 2 charges much faster and often comes with smart features like scheduling and energy monitoring.
Cons – Level 1 is slow and might not meet your range needs. Level 2 requires a professional install, permits, and a higher upfront price.
Try this: walk around your garage with a tape measure, note the distance to your breaker, and jot down how many miles you drive each day. That simple checklist will point you right to the charger that fits your life.
Fair warning: if you skip the power‑panel check and overload the circuit, you could trip breakers or worse.
Frequently Asked Questions
Can I Charge My EV While Traveling With a Level 1 Cord?
We can charge on the road with a Level 1 cord, using portable adapters and hotel options that provide standard 120V outlets, but expect slow 2‑5 miles per hour and plan for longer stops.
Will a Level 2 Charger Work With All EV Models?
We’ve found that most EVs support Level 2, but vehicle compatibility hinges on connector standards; if your car uses the common J1772 plug, it’ll work, otherwise you may need an adapter.
How Does Extreme Weather Affect Level 1 vs. Level 2 Charging Speed?
We’ve found extreme cold slows Level 1 more than Level 2; battery warming drops, and reduced range appears quicker. In milder heat both charge fine, but Level 2’s higher power mitigates temperature loss better.
Do I Need a Special Permit for a Level 2 Installation?
We’ve installed a 240 V charger for a couple’s two‑car garage, and they needed a permit, though many municipalities offer homeowner exceptions. Permits vary, so check local codes before proceeding.
Can I Install a Level 2 Charger Myself to Hire an Electrician?
We’d say don’t DIY this—installing a Level 2 charger yourself risks safety issues and can void the warranty, so hiring a licensed electrician is the smart, compliant choice.