As an Amazon Associate, we earn from qualifying purchases. Some links on this site are affiliate links at no extra cost to you. Our recommendations are based on thorough research and editorial judgment.

What to Keep in an EV Charging Travel Kit

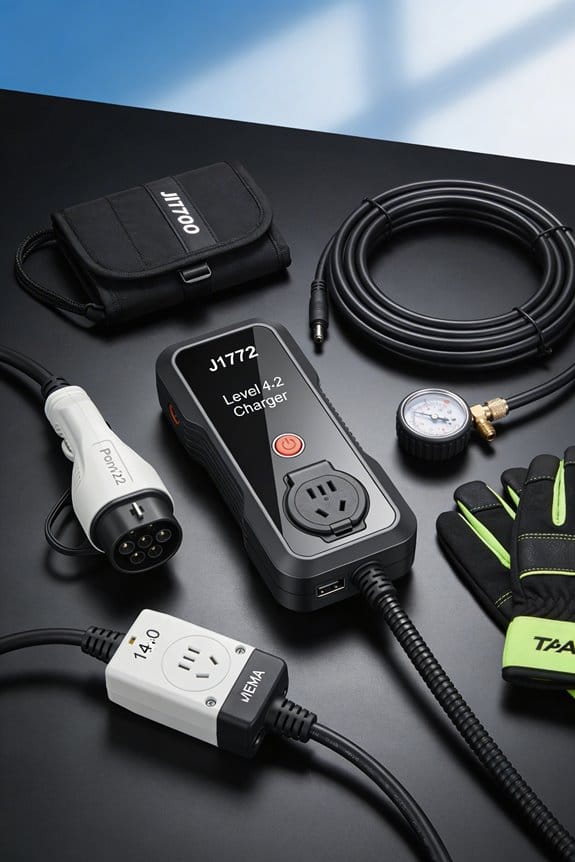
We suggest packing a compact high‑amp Level‑2 charger with a 28‑foot cord, a set of certified adapters for TT‑30, NEMA 14‑50, and NEMA 6‑20 outlets, and a locking cable to secure the charger. Include a 10 000 mAh power bank, USB‑C cables, and a small power strip for devices. Bring wheel chocks, high‑visibility gloves, a thermal blanket, microfiber cloths, a portable broom, and a trash bag for safety and cleanliness. Add a water‑resistant blanket, foldable chair, insulated cooler, reusable cup, and battery‑powered LED lights for comfort. The next sections will show how each item fits into a practical travel setup.
Key Takeaways
- A compatible charger with appropriate amperage (30 A or 50 A) and a compact folding plug for easy storage.
- Certified adapters for common outlet types (TT‑30, NEMA 14‑50, NEMA 6‑20) with verified pin polarity.
- Portable power bank and multi‑port USB‑C cables to keep personal devices charged while the EV charges.
- Safety gear such as a locking cable, wheel chocks, high‑visibility gloves, and a thermal blanket for emergencies.
- Cleaning supplies (microfiber cloths, portable broom, wipes) and comfort items (lightweight blanket, foldable chair, LED lights).
Choose the Right Portable Level‑2 Charger for RVs
You may be interested

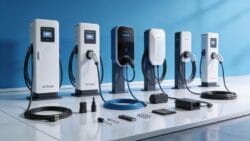

Ever found yourself stuck at a campsite because your RV’s charger just can’t keep up? I’ve been there, and the hassle of hunting for a power source that actually works can ruin a trip. The good news is you don’t need a fancy gadget—just the right portable Level‑2 charger that fits your RV’s needs and the sites you’ll visit.
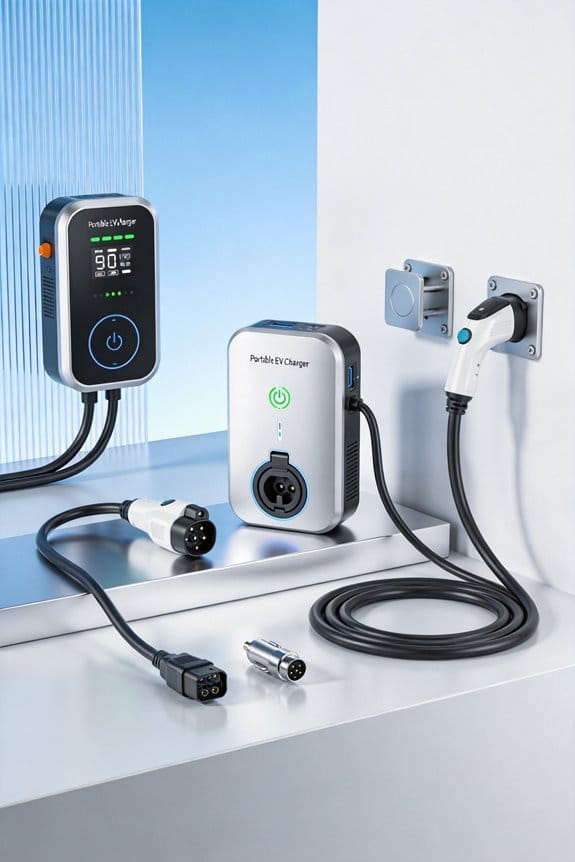
First off, make sure the charger’s rating matches your RV’s amperage. If you run a 30‑amp setup, a charger that handles 30‑amp circuits is a must; the same goes for 50‑amp rigs. I always double‑check the high‑amp connectors, too—sturdy contacts keep the power steady and avoid those annoying flickers. A compact folding‑plug is a lifesaver; it slides into your storage bag and lets you set up in seconds, which is perfect when you’re juggling gear at a busy campground.
Frankly, the checklist looks like this:
- Verify the charger rating matches your RV’s amperage.
- Make certain the charger includes high‑amp connectors for reliable power.
- Choose a model with a compact folding‑plug for easy storage.
- Check cord length; 28 feet works well for flexible placement.
- Look for a protective storage bag to keep dirt out.
A 28‑foot cord gives you wiggle room to plug in wherever the outlet sits, and a sturdy bag keeps the whole thing clean and ready for the next stop. I’ve found that a well‑packed charger saves you time and keeps the vibe relaxed, especially when you’re traveling with the family.
Worth knowing: when you’re at a site with limited space, a folding‑plug can make the difference between a smooth setup and a tangled mess. It also means you can toss the charger in the back of your RV without sacrificing precious storage.
If you’ve ever tried to wrestle a bulky charger out of a cramped bag, you’ll appreciate a model that folds neatly and slides in without a fight. The right connector and cord length keep the power flow steady, so you’re not left watching a dimming dashboard while you’re cooking dinner.
Pick a charger that checks all these boxes, and you’ll spend less time troubleshooting and more time enjoying the road. Ready to upgrade your RV power game?
Recommended Products
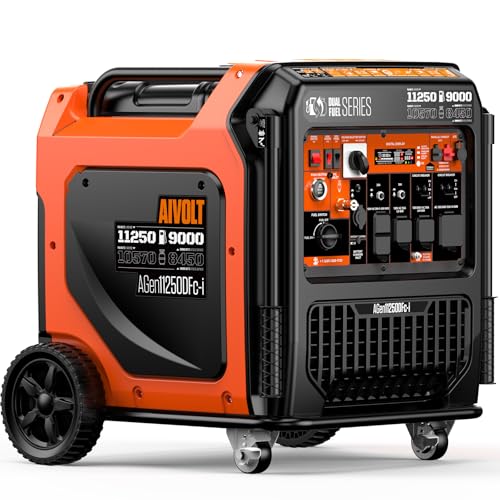
Meets U.S. Standards: This generator follows strict U.S. environmental and safety rules. EPA & CARB Compliant. Available for purchase in CA

9500 Running Watts and 12500 Peak Watts; Remote Start with Included Key Fob, Electric and Recoil Start; Up to 12 Hours of Run Time on a 6.6 Gallon Fuel Tank with Fuel Gauge
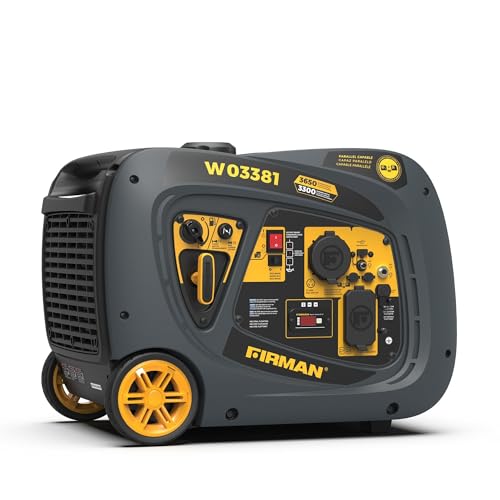
Legendary FIRMAN Engineering: A dependable 193cc engine with recoil start, cast iron sleeve, and low oil shut off delivers consistent performance for long-term use
Pick the Proper Adapter for Your Portable Level‑2 Charger
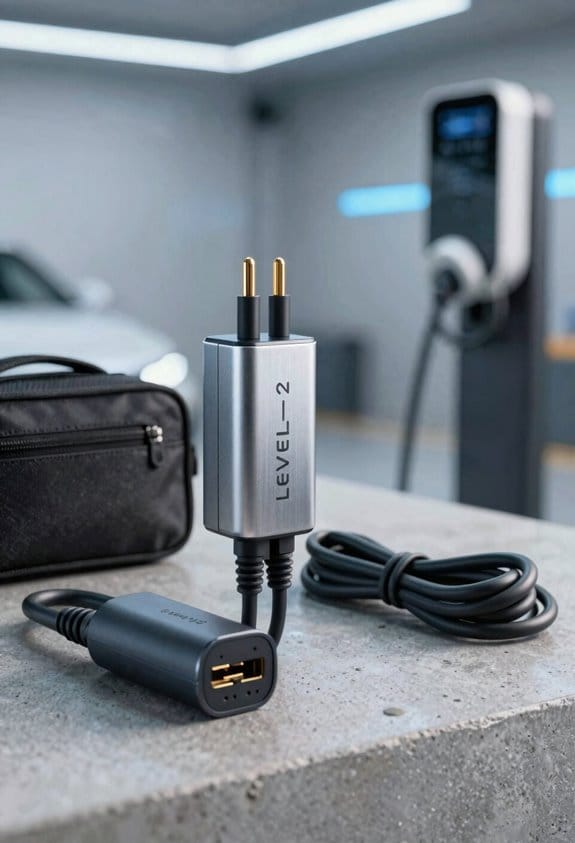
Ever tried to hook up a portable Level‑2 charger at an RV park and found yourself staring at a wall of confusing outlets? You’re not alone—getting the right adapter can feel like a mini‑puzzle, but it’s worth the effort for a safe, hassle‑free charge.
Identify the outlet type.
- TT‑30 for 30‑amp RV circuits.
- NEMA 14‑50 for 50‑amp dryer‑style outlets.
- NEMA 6‑20 for 240‑V, up to 16 A.
Verify pin polarity.
- Make sure the ground, neutral, and hot pins line up with the charger’s plug.
- A mismatch can cause overheating, and you definitely don’t want that.
Confirm adapter compatibility.
- Match the charger’s connector to the outlet’s socket.
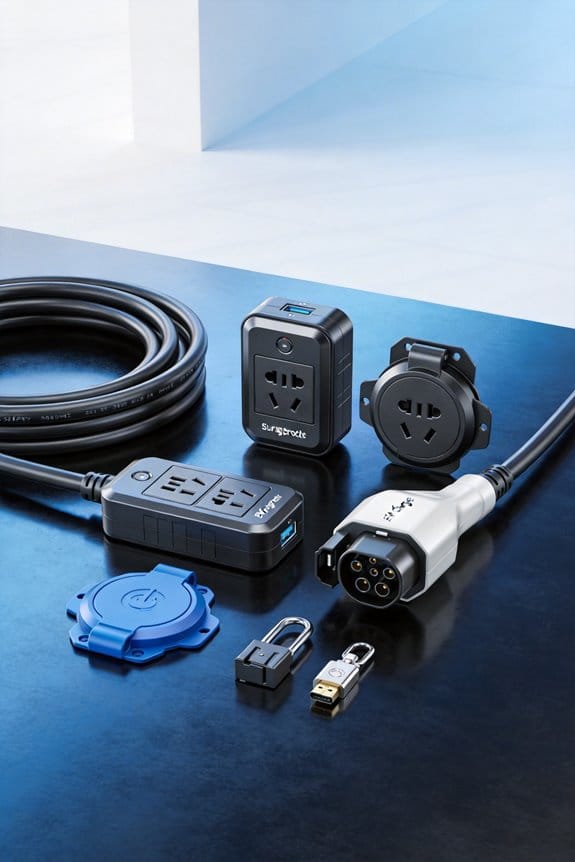
- Use a certified adapter for each pair.
I keep a small kit with these adapters, so I can charge quickly at any RV park. Worth knowing: double‑check the pins before you plug anything in—your charger (and your peace of mind) will thank you.
Frankly, the whole process takes just a few minutes once you know what to look for. Have you ever tried a makeshift solution that backfired? Trust a proper, certified adapter and you’ll avoid the drama.
Ready to hit the road with confidence? Grab the right adapter and you’ll be charging in no time.
Recommended Products

INSTALL WITH CONFIDENCE: Formerly ClipperCreek, the core technology that comes inside every Enphase EV charger has earned its award-winning reputation by delivering industry-leading durability and reliability. Now they're made even better with a 5-year limited manufacturer warranty and 24/7 customer support. This HCS-50 requires a 50 Amp dedicated circuit, comes fully assembled, and offers quick installation via a 12 inch 240V input plug with any NEMA 14-50R outlet.

✅【HEAVY DUTY】NEMA 14-50R receptacle power outlet, 50A 125V/250V with type 3R enclosure rainproof which compatible with the nomal 50A Nema 14-50P RV cord.
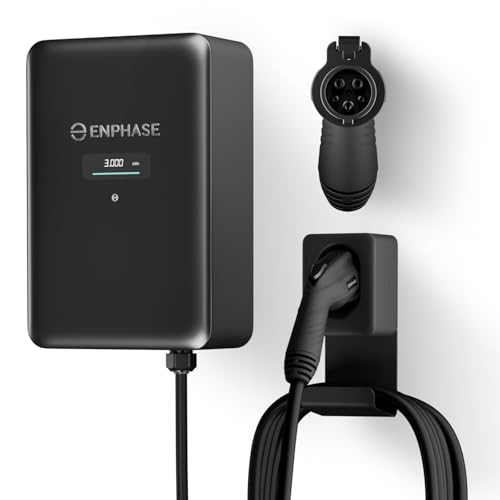
7× FASTER CHARGING: Get fast, reliable EV charging up to 9.6 kW (38 miles/hour) in a compact, flexible design that’s easy to use anywhere.
Power Your Devices While Using a Portable Level‑2 Charger
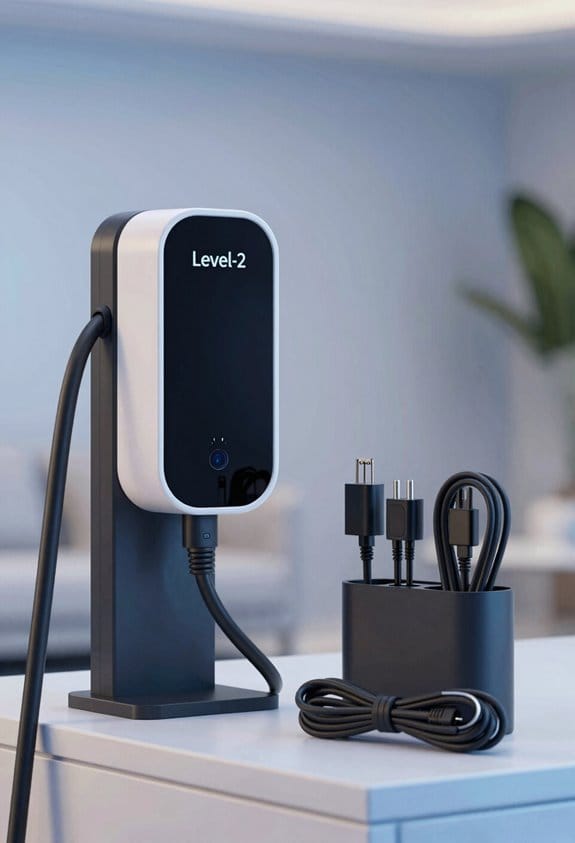
Ever find yourself juggling a dead phone, a tablet, and a charging EV all at once? It’s easy to feel like you’re fighting a tech tug‑of‑war when you’re trying to get somewhere on time. The trick is to keep a solid powerbank on hand so your gadgets stay alive while the car drinks power.
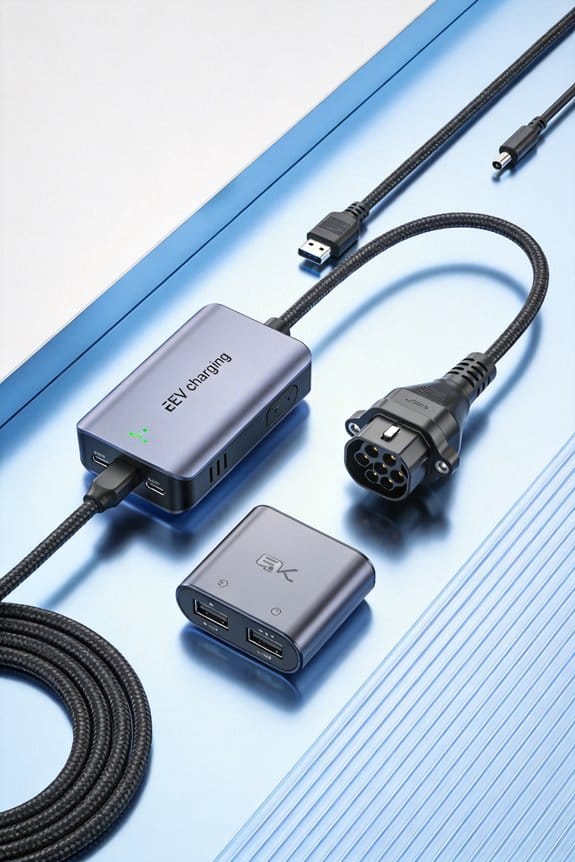
A 10,000 mAh bank does the job nicely. Plug it into the charger’s USB port or a wall outlet while the EV charges, then hook up all your devices with a single multi‑port cable. Keep the extra length coiled in a zip‑top bag for tidy cable management.
Frankly, a few simple habits make this whole process painless:
- Choose a powerbank that supports fast‑charge.
- Keep a short USB‑C cable for phones and a longer one for tablets.
- Wrap cords with Velcro straps to avoid tangles.
- Pack a small power strip if you need more outlets.
These steps let you charge the car and your electronics together without extra hassle. Worth knowing: a short USB‑C keeps your phone charging fast, while a longer cable gives tablets the slack they need.
Recommended Products

【Power Hub For All Your USB-C Devices】From high powered USB-C laptops to tablets and smartphones, Omnicharge can keep all your devices charged up. Compact and functional.also have function of overcharge protection.
![[FishPRO® 𝟐𝟎𝟐𝟔 New] [Adjustable Focus] NO.1 HD 1080P Underwater Fishing Camera 7'' IPS, w/DVR-32GB -10,000mAh, Ice Fishing Camera Underwater, Fish Finder for Boat Ice Lake Fish, USB-C/LED+IR/82FT](https://m.media-amazon.com/images/I/51IP2uKdJ9L._SL500_.jpg)
【2026 NEW Exclusive Optical Adjustable Tech】 Powered by FishPRO exclusive optical adjustable tech, FocusX fishing camera move its focus and zoom lens groups to expand the focal range from 0.4" to 19.6"—far beyond the fixed 3.9" of traditional fish cameras, which only stay clear at 3.9"–9.8" in clean water and blur in murky conditions. FocusX delivers true 0.4"–∞ clarity: 0.4" for close fish details, 3.9" for bite capture, and 19.6" for long-range scouting—Be PRO on the ice with a simple click.

[17.2 lbs Ultra-Light] Our OptiSolex 440W Solarbag is 𝟕𝟓% 𝐬𝐦𝐚𝐥𝐥𝐞𝐫 and 𝟔𝟐% 𝐥𝐢𝐠𝐡𝐭𝐞𝐫 than comparable 400W systems, freeing up space for your essential gear so you no longer ave to choose between solar panels and your cooler.
Add Safety Gear That Protects Your EV and You
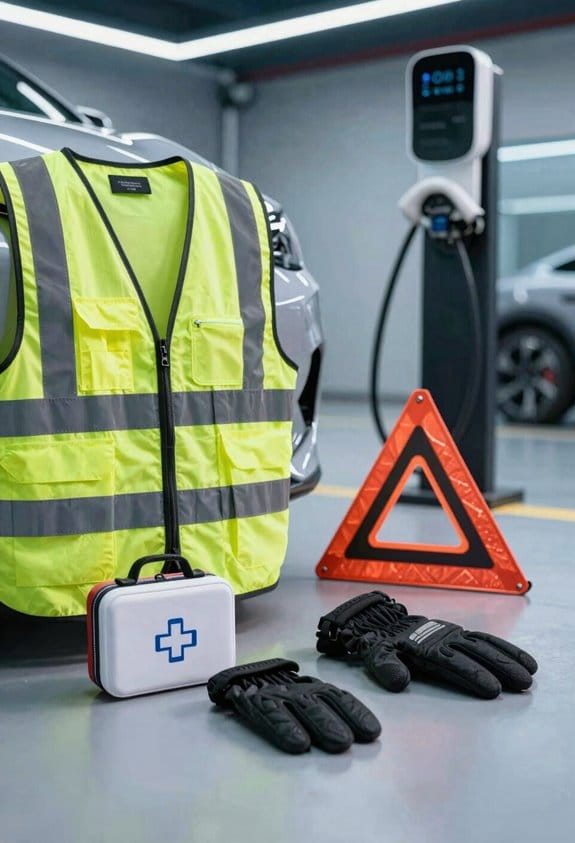
Ever found yourself stuck on a cold night, charger cable dangling, and wondering if you packed the right gear? I’ve learned the hard way that a few simple items can make a big difference for both your EV and you.
Locking cable – This keeps the charger locked to the car so thieves can’t walk away with it. Before each trip, give it a quick look for frayed spots. When you’re ready to unplug, make sure the cable is still snug.
Wheel chocks – They stop the car from rolling when you’re on a hill or uneven ground. Slip them under the wheels before you pull the plug. It’s a small step that saves a lot of hassle later.
High‑visibility gloves – They protect your hands from sharp edges and make you easy to spot in low light. Wear them whenever you’re handling cables or moving around the vehicle. The bright color helps anyone nearby see you right away.
Thermal blanket – Perfect for those unexpected cold snaps. It can keep you warm if you get stuck and you can drape it over the car to trap heat. It’s lightweight enough to toss in your bag but big enough to double as an emergency shelter.
- Store each piece in a sturdy bag.
- Check the locking cable for wear before each trip.
- Place wheel chocks before unplugging.
- Wear gloves when handling cables.
- Use the thermal blanket as an emergency shelter.
Try this: keep a dedicated “EV safety” tote in your trunk so you never have to scramble for gear. Worth knowing: a quick visual check of all items before you hit the road can catch problems early.
Do you already have a go‑bag for your car, or is it time to build one? Let’s make every drive a little safer together.
Keep Your Charging Setup Spotless With Cleaning Tools
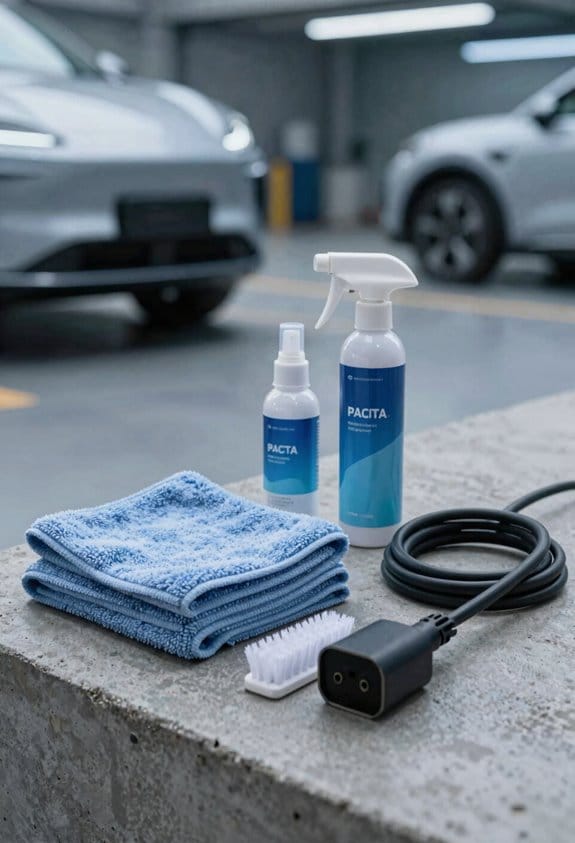
Ever notice how a dusty charging spot can make your devices overheat or lose connection? Keeping the area clean is a small habit that saves a lot of hassle.
Microfiber cloths – They’re soft enough to wipe connectors and ports after each use without scratching metal. The fabric traps dust, so you don’t have to worry about grit building up.
Portable broom – A tiny broom lets you sweep the floor around the charger, getting rid of leaves, sand, or any debris that could snag cords.
Additional items
- A small trash bag for the collected debris.
- Wet wipes for quick spot cleaning of sticky residue.
I keep all these tools in the same bag as my cables. That way, before you plug anything in, you can grab a cloth or a broom and keep the charging spot spotless and functional.
Try this: After each charging session, give the connectors a quick wipe and sweep the floor. It only takes a minute, but it keeps your gear running smoothly.
Worth knowing: A tidy setup not only looks better, it also helps prevent overheating and poor contact, which can extend the life of your devices.
Do you already have a cleaning routine for your charging area? If not, give these simple steps a try and see how much easier it is to stay powered up.
Add Comfort Essentials for a Mini‑Campground Feel
Ever find yourself stuck at a charging station, wishing you could just relax a bit before getting back on the road? It’s easy to turn that plain spot into a cozy mini‑campground with a few simple items.
First, grab a lightweight, water‑resistant blanket that folds up small. It’s perfect for a quick shade‑and‑warmth fort around the charger. Next, a set of battery‑powered LED camp lights with a magnetic base can sit on any metal pole nearby and give you steady light without draining the car’s battery. A foldable, sturdy chair fits right in the trunk, and an insulated cooler slides under the charger to keep drinks cold. Finally, a reusable cup is great for water or coffee on the go.
Try this:
- Blanket – lightweight, water‑resistant, easy to fold.
- Camp lights – LED, rechargeable, magnetic base for metal poles.
- Portable chair – foldable, sturdy, fits in the trunk.
- Insulated cooler – keeps drinks cold, fits under the charger.
- Reusable cup – for water or coffee, safe for travel.
Set the blanket up around the charger, pop the lights on a nearby surface, and settle into the chair while the vehicle charges. This little setup gives you a calm, functional pause spot that feels more like a campsite than a parking lot.
Frankly, you’ll notice how a few thoughtful pieces can make the wait feel like a mini‑break rather than a hassle. Worth knowing: you don’t need a lot of gear—just the right basics to stay comfortable and keep your car powered.
What’s the one item you can’t travel without?
Frequently Asked Questions
Will I Need a Separate Ev‑Specific Surge Protector?
We’d suggest a dedicated EV‑rated protector, because it’s like a safety net for your charger, giving you ground‑fault protection and preventing costly damage while you’re on the road.
How Does Weather Affect My Portable Charger’s Performance?
We’ve found temperature effects can slow charge rates and reduce battery capacity, while high humidity can cause corrosion on connectors; keep your charger dry, store it in a insulated case, and check contacts regularly.
Can I Charge Multiple EVS Simultaneously With One Level‑2 Unit?
We can’t safely daisy‑chain multiple EVs to a single Level‑2 unit; it lacks proper load‑sharing circuitry, so trying to charge two cars at once could overload the charger and damage the batteries.
What Battery Capacity Is Required for a Full‑Day Camping Trip?
We’ll need roughly 2 kWh per person for cooking, lighting, and gadgets, so aim for a 4‑5 kWh pack. Think of battery sizing as your camp’s sunrise—energy estimation guarantees a bright, uninterrupted day.
Are There Any Legal Restrictions on Using Adapters Abroad?
We’ve found that plug compatibility varies by country, so you must check local standards and include any required adapters in your customs declarations. Most nations allow personal use, but commercial resale often faces stricter regulations.