As an Amazon Associate, we earn from qualifying purchases. Some links on this site are affiliate links at no extra cost to you. Our recommendations are based on thorough research and editorial judgment.
How to Keep an EV Charging Cable Off the Garage Floor
We recommend a ceiling‑mounted retractor with at least 30 lb capacity, a wall‑mounted holster for the plug, and a low‑profile pass‑through protector for the garage door. First, mount the retractor above the charger and run the cable through a guide into the holster at charger height. Second, attach the holster level on the wall so the plug stays clean and easy to grab. Third, snap the protector into the door seam to keep the cable sealed and kink‑free. Align the guide and holster carefully to avoid jams, and you’ll have a tidy, floor‑free charging zone that works reliably; continue for more detailed setup tips.
Key Takeaways
- Install a ceiling‑mounted retractor with ≥30 lb capacity and guide the cable through a garage‑door support for smooth lifting.
- Mount a wall‑mounted steel hook or zinc‑coated hook (≈80 lb rating) and a level metal holster to hold the plug clean and off the floor.
- Use a low‑profile plastic door‑pass‑through protector to prevent kinking while preserving the garage seal.
- Add an extendable wall arm that folds flat when not in use, keeping the cable suspended and clear of obstacles.
- Enclose the cable in a weather‑proof box or combined holster‑retractor system, ensuring proper alignment to avoid jams.
Pick the Best Ceiling‑Mounted Retractor for Your Garage
You may be interested


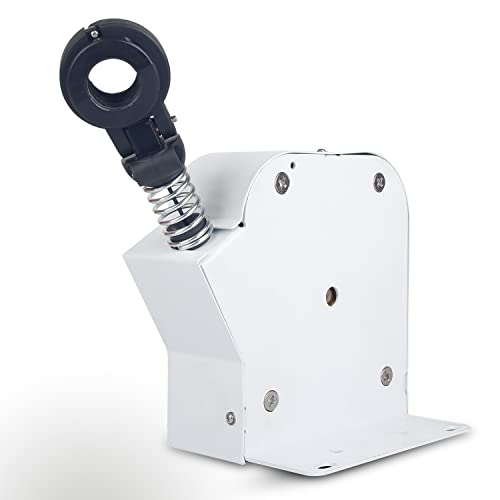
Ever had a tangled EV cable lying on the garage floor, tripping you every time you walk by? When you install a ceiling‑mounted retractor, you’ll want something sturdy, easy to fit, and that fits your garage’s layout. First, check the overhead weight capacity—pick a unit that holds at least 30 lb so most EV cables are covered. Then think about retract speed; a moderate pace stops the cable from snapping back while still charging quickly.
Mounting hardware – Use the pre‑drilled brackets; no tools needed.
Cable path – Run the cable through the garage door opener support for a clean line.
Adjustability – Pick a retractor with a sliding guide to match your charger height.
- Plastic housing resists abrasion.
- Metal gears assure smooth motion.
Frankly, these steps give you a low‑profile setup that keeps the floor clear and the cable safe. Worth knowing: a tidy garage makes charging feel less like a chore and more like a routine.
Recommended Products

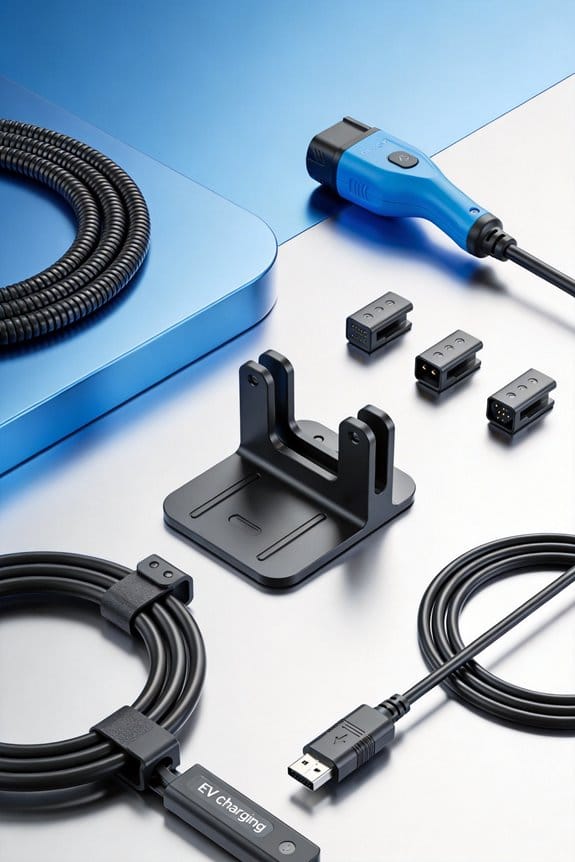
Wall Mounted or Ceiling Mounted Cable Management System for Home Electric Vehicle Charger: Compatible with ev charging cables up to 30 ft in length, fits for 20-25mm/0.78-0.98" Diameter Bold Cable. (The ev charger cable not included)

Versatile:Compatible with EV charging cables from 16 to 26mm in diameter, ensuring a secure fit
Install Wall‑Mounted Hooks & Holsters for Easy Garage Cable Management
Tired of tripping over your charger cable every time you pull out of the garage? You’re not alone—many of us have a ceiling‑mounted retractor but still need a cheap, quick fix to keep the cord off the floor.
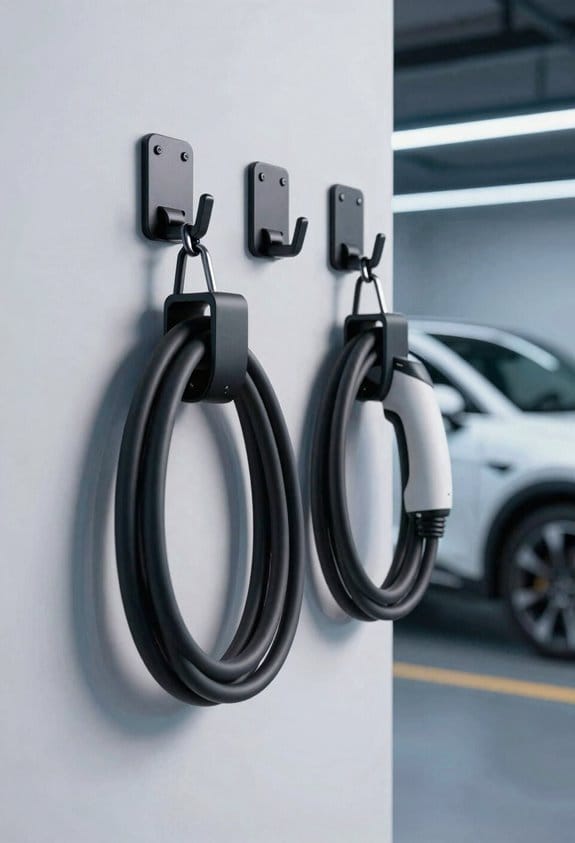
Frankly, a simple wall‑mounted hook system does the trick without breaking the bank. First, pick steel zinc hooks rated for about 80 lb. Then, measure out two spots roughly 12 in. apart and drill holes at equal spacing. Screw the hooks into studs for solid support. Worth knowing: attach a metal holster to each hook, making sure the pocket fits your J1772 or NACS connector. After each charge, coil the cable inside the holster and snap it shut.
- No tripping hazard.
- Dust‑free connector.
- Easy access for daily use.
Installation takes under ten minutes and costs less than $30. This method works well with any wall‑mounted charger setup.
Got a few extra minutes? Try this: keep a small zip‑tie nearby for extra security if the holster ever feels loose.
Your garage stays tidy, and you can grab the plug without a hassle. Ready to give it a go?
Recommended Products

[Your Perfect Outdoor Escape]- Extend your living space with the Domi 12x15FT sunroom, ideal for year-round relaxation, dining, or working from home. Whether hosting gatherings or enjoying quiet moments, this versatile solarium transforms your outdoor area into a cozy, weatherproof retreat.

ADJUSTABLE DEPTH: 4- Post 25U 19" server rack enclosure with 4 vertical rails and adjustable mounting depth from 7.1" to 35.0" (18,0cm to 88,9cm); IT rack works with various servers / switches / data / video / AV and other IT networking equipment

[SPACE-EFFICIENT MARVEL]: Maximize your space with our folding squat rack! Expandable to a mere 9.5 SQ.FT when fully opened, and folding down to just 3 SQ.FT when not in use, it's the ultimate solution for home gyms, cramped basements, or cozy family garages. Perfect for those who crave quality workouts in tight quarters, it's your compact yet powerful fitness ally!
Add a Garage Door Pass‑Through Protector to Keep Cables Safe While Maintaining Seal
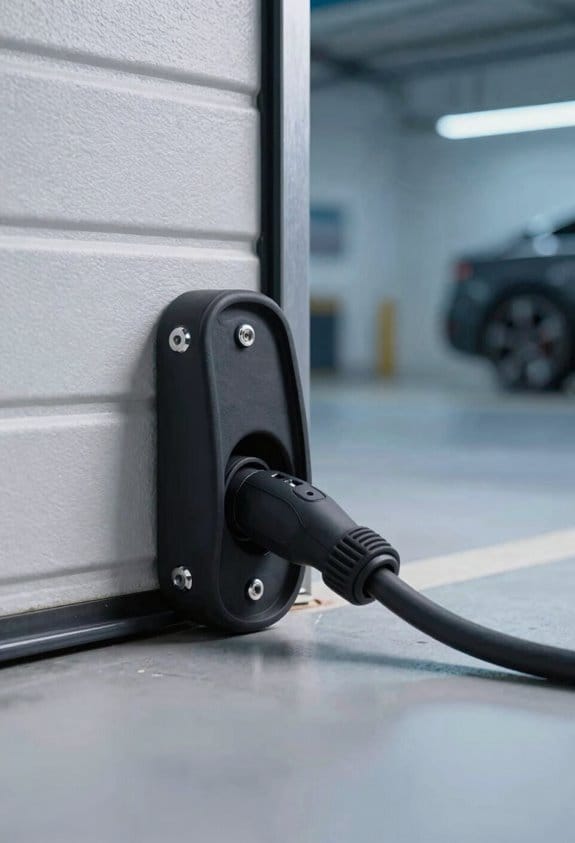
Ever tried to pull your EV charging cable through a garage door and ended up with a kinked mess? You’re not alone—many of us wrestle with that tiny opening that just won’t stay sealed. A garage‑door pass‑through protector is a simple fix that lets the cable slip through without getting crushed, and the door still closes tight.
How it works
The low‑profile plastic piece slides into the bottom seam of the door, keeps the seal intact, and even helps the door line up right. No tools, no drilling, just a quick snap‑in. It works with both Level 1 and Level 2 chargers, and a pack costs under $13.
Installation steps
- Pick a protector that matches your cable size.
- Slide it into the door’s bottom seam.
- Line the opening up with the door’s edge.
- Pull the cable through the slot.
- Close the door and check that the seal feels tight.
Why it matters
This little gadget stops the cable from getting damaged and keeps your garage climate control in check. It’s a tiny investment that saves you from costly repairs and a lot of frustration.
Try this:
- Choose the right size, then just push the protector into the seam.
- Make sure the slot lines up before you pull the cable through.
Worth knowing:
- The plastic is thin enough not to interfere with the door’s movement.
- It holds the seal so well that you won’t notice a difference in temperature control.
Frankly, I’ve used it on my own setup and never looked back. The door closes smoothly, and the cable stays safe. Have you ever dealt with a busted cable because of a tight garage door? Give the pass‑through protector a try and see how much easier charging can be.
Recommended Products
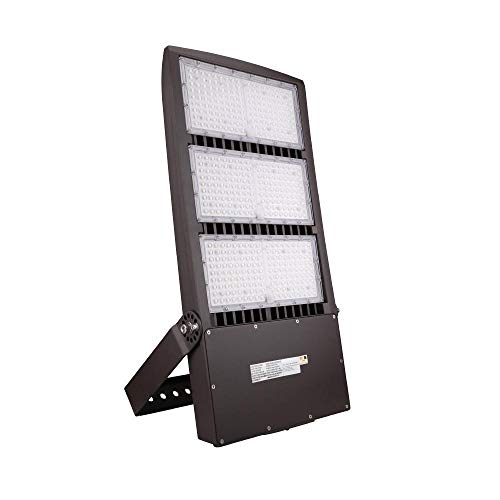
These LED Flood Lights put out around 60,750 lumens, which is enough for parking lots, yards, stadium edges, driveways, and other large areas that need broad night coverage.

WEATHERPROOF GARAGE PROTECTION | Weather Defender creates a tight seal between the floor and garage door, preventing vermin, leaves, water ingress and debris being blown under your garage door

Spacious Storage Solution: Boasting a generous capacity of 140 cubic feet, our 6'x4' outdoor storage shed, measuring 67.3''L x 46.4''W x 72.8''H, provides a large, secure, and weatherproof space for garden tools, lawn equipment, bicycles, and other outdoor supplies; It can function as a pet shelter or a greenhouse for plants to meet your needs
Use Extendable Wall Arms When Reach Is a Problem
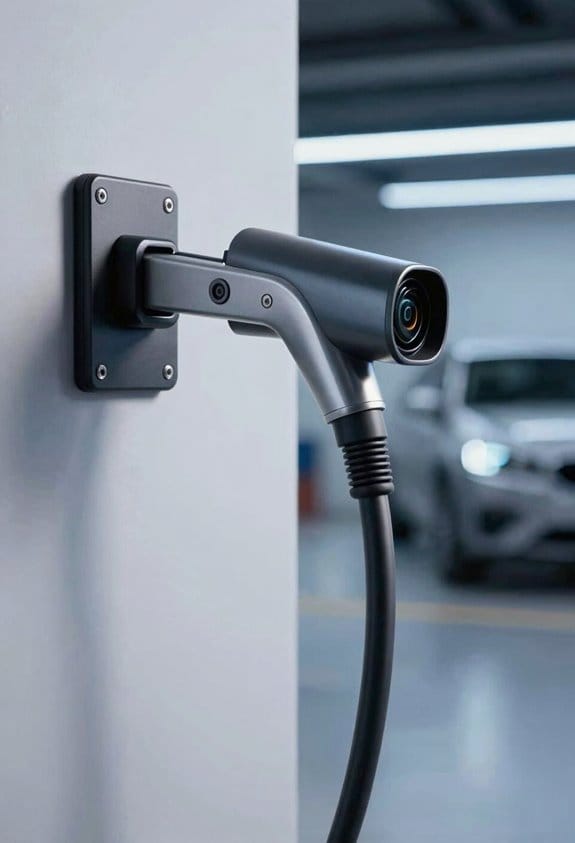
If your garage‑door pass‑through protector keeps the cable safe at the door, the next hurdle is reaching the charger when the socket sits high or far from the wall. I’ve been there, and an extendable wall arm can make the difference. It mounts to the wall and swings out, letting the cable drop straight onto the socket.
Why choose them?
- Simple folding mechanism lets you fold the arm flat when not in use.
- Strong load rating supports most Level 1 and Level 2 cables.
- Adjustable length reaches high or distant outlets.
Installation steps
- Locate a stud near the charger.
- Screw the mounting bracket into the stud.
- Attach the arm, tighten the bolts, and test the swing.
Tips
- Keep the arm clear of other tools.
- Check the load rating before hanging heavy cords.
These arms keep the cable off the floor and out of the way.
Frankly, you’ll wonder how you ever lived without one. Try this: after you mount the arm, give the cable a quick tug to make sure the swing isn’t too stiff. If you ever need to move the charger, just fold the arm flat and store it away.
What’s the worst that could happen if you don’t give your cable a proper perch?
Recommended Products

TRANSFORM YOUR EV CHARGING AREA- Experience a clutter-free garage with our EV Hover electric vehicle charging station accessories management system. Keep your charging cable suspended and out of the way for a clean, safe charging experience.

ORGANIZED EV CABLES WITHIN EASY REACH: The EV Hover’s adjustable, extendable arm provides elevated charging for electric vehicle owners everywhere. Rather than twisting under you, your electric vehicle cable will hover above you. Never worry about coiling or tripping over your cable again

"► SAFETY - A charging cable left on the ground poses significant risks to the user, their family, and pedestrians, leading to trips, falls, and, even more concerning, the risk of electrocution due to cable damage (from heavy or sharp objects, pets, rodents and wear over time, and especially contact with water or rain). The Barkan wall arm protects against these hazards by lifting the cable above head height, concealing most of it inside the mount and shielding it from potential damage."
Garage‑Specific Cable Boxes & Covers for Safe Storage
Ever tripped over your EV charger cord while trying to park the car? It’s a hassle that can turn a quick charge into a mini obstacle course. I’ve found a simple fix that keeps the cable out of the way and protects it from wear.
Garage‑specific cable boxes and covers give you a tidy, protected spot for EV charging cords, keeping them off the floor and safe from damage. We choose boxes that fit the cable length and connector type. A good box is a weatherproof enclosure that blocks moisture and dust. It also offers odor control, preventing any smell from the cord material.
Why we use them
- Keeps the cable clean.
- Stops wear from floor contact.
- Reduces tripping risk.
Installation steps
- Measure cable length.
- Place box near charger.
- Secure with screws or adhesive.
- Close lid tightly.
Materials to evaluate
- Heavy‑duty plastic.
- Metal with a sealed lid.
These boxes keep the garage organized and the cable in good condition.
Frankly, the best part is that you don’t need any fancy tools—just a drill and a couple of screws. Try this: pick a box that’s a little bigger than your cord so you have room for a plug and any adapters. That extra space prevents the lid from jamming and makes it easy to pull the cord out when you need it.
Worth knowing: if you’re worried about moisture, go for a sealed metal box. It’s tougher than plastic and will keep water out even on rainy days. On the other hand, a heavy‑duty plastic box is lighter and easier to mount, which is handy if you move the charger around.
Got a garage that’s already a mess? A cable box can be the first step toward a cleaner space, and you’ll notice the difference right away. Have you tried one yet?
Recommended Products

Exceptional Long Lifespan: 4,000 100% DOD cycles power RVs for 10+ years—outlasting lead-acid, reducing replacements and long-term costs.

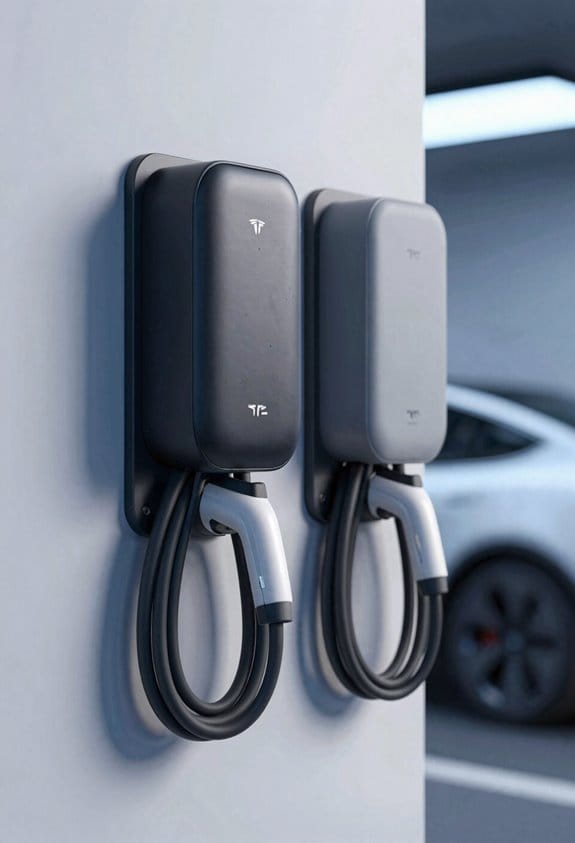
COMPATIBILITY: Wall Connector is compatible with all Tesla models: Model S, Model 3, Model X and Model Y.

FAST CHARGING: Pulsar Plus EV Charger is 9x faster than portable basic chargers, providing up to 45 miles of range per hour, depending on the electric vehicle. It provides up to 11.5 kWh and adjustable current intensity.
Combine Solutions for a Hazard‑Free, Organized Charging Zone
Ever tripped over a tangled charger cord in the garage and thought there had to be a better way? I’ve been there, and the fix is simpler than you might think.
When you pair a wall‑mounted holster with a ceiling‑mounted retractor, the cable stays off the floor and out of the way while still being easy to reach. This shared mounting creates a clean line from wall to ceiling, giving combo aesthetics that fit any garage décor.
Frankly, the setup is a breeze:
- Install the holster at charger height.
- Mount the retractor on the ceiling directly above the holster.
- Run the cable through the retractor’s guide and dock it in the holster when charging.
- The holster protects the connector from dust.
- The retractor pulls the cable up automatically.
- Both units use simple screws, no drilling.
Try this: the holster keeps the plug clean, and the retractor lifts the cord so you never have to bend down to plug or unplug. You’ll notice the space looks tidier and you won’t worry about a cord getting snagged on a bike or a box.
A couple of things to watch out for. Make sure the holster is level so the cable slides in smoothly, and double‑check that the retractor’s guide is aligned with the holster’s opening. If you skip those steps, you might end up with a jammed cord, which defeats the whole point.
With a little patience, you’ll have a hazard‑free, organized charging zone that looks tidy and works reliably. Ready to give your garage a cleaner look?
Frequently Asked Questions
Can I Use a Pass‑Through Protector With a Level 3 Charger?
We’ve installed a pass‑through protector on a Level 3 charger at a client’s garage; the dense plastic handled thermal buildup and maintained perfect vice compatibility, keeping the cable safe and floor‑free.
Do Ceiling Retractors Work With Both J1772 and NACS Connectors?
We’ve found that ceiling retractors handle both J1772 and NACS connectors, thanks to their universal mounting brackets and adjustable spring tension, so you can secure any charger without swapping hardware.
Will a Wall‑Mounted Hook Support a 100‑Lb Charging Cable?
We’ll tell you a wall‑mounted hook can support a 100‑lb charging cable if you use heavy‑duty mounting hardware and guarantee proper weight distribution across the screw anchors, so the load stays balanced and secure.
How to I Protect the Cable From UV Exposure Outdoors?
We protect the cable from UV exposure outdoors by fitting UV sleeves and using protective covers, which block sunlight, prevent fading, and keep the insulation intact during all weather conditions.
Are Cable Storage Boxes Fire‑Rated for Safety?
We’ve found that most cable storage boxes are fire‑resistant, but check the temperature rating; many meet UL‑94 standards, ensuring they won’t ignite under typical garage heat while protecting your EV charger.